Hello from this cute little cozy cabin… in our bedroom! :)
For a long time we have been playing with the idea of putting some wallpaper in different parts of our home. If you check my Pinterest, from the beginning of times, I have been pining about homes decorated with wallpaper of very different types. Did you know I was a Pinterest beta user? Were any of you also one of those that put themselves in the list to try it first? The Virgo in me, whom loves to makes lists of things, was super excited with the idea of having visual bookmarks from all the internet. I was already doing the same on my own, storing the photos on my computer with folders and such (don’t judge me, ha!), so it was a match for me made in heaven. Well, in those days I learnt about Fine Little Day, a Swedish designer & photographer called Elisabeth Dunker whom also happened to be a mom of a little boy and was converting his sons drawings into lovely patterns with a strong Scandinavian vibe.
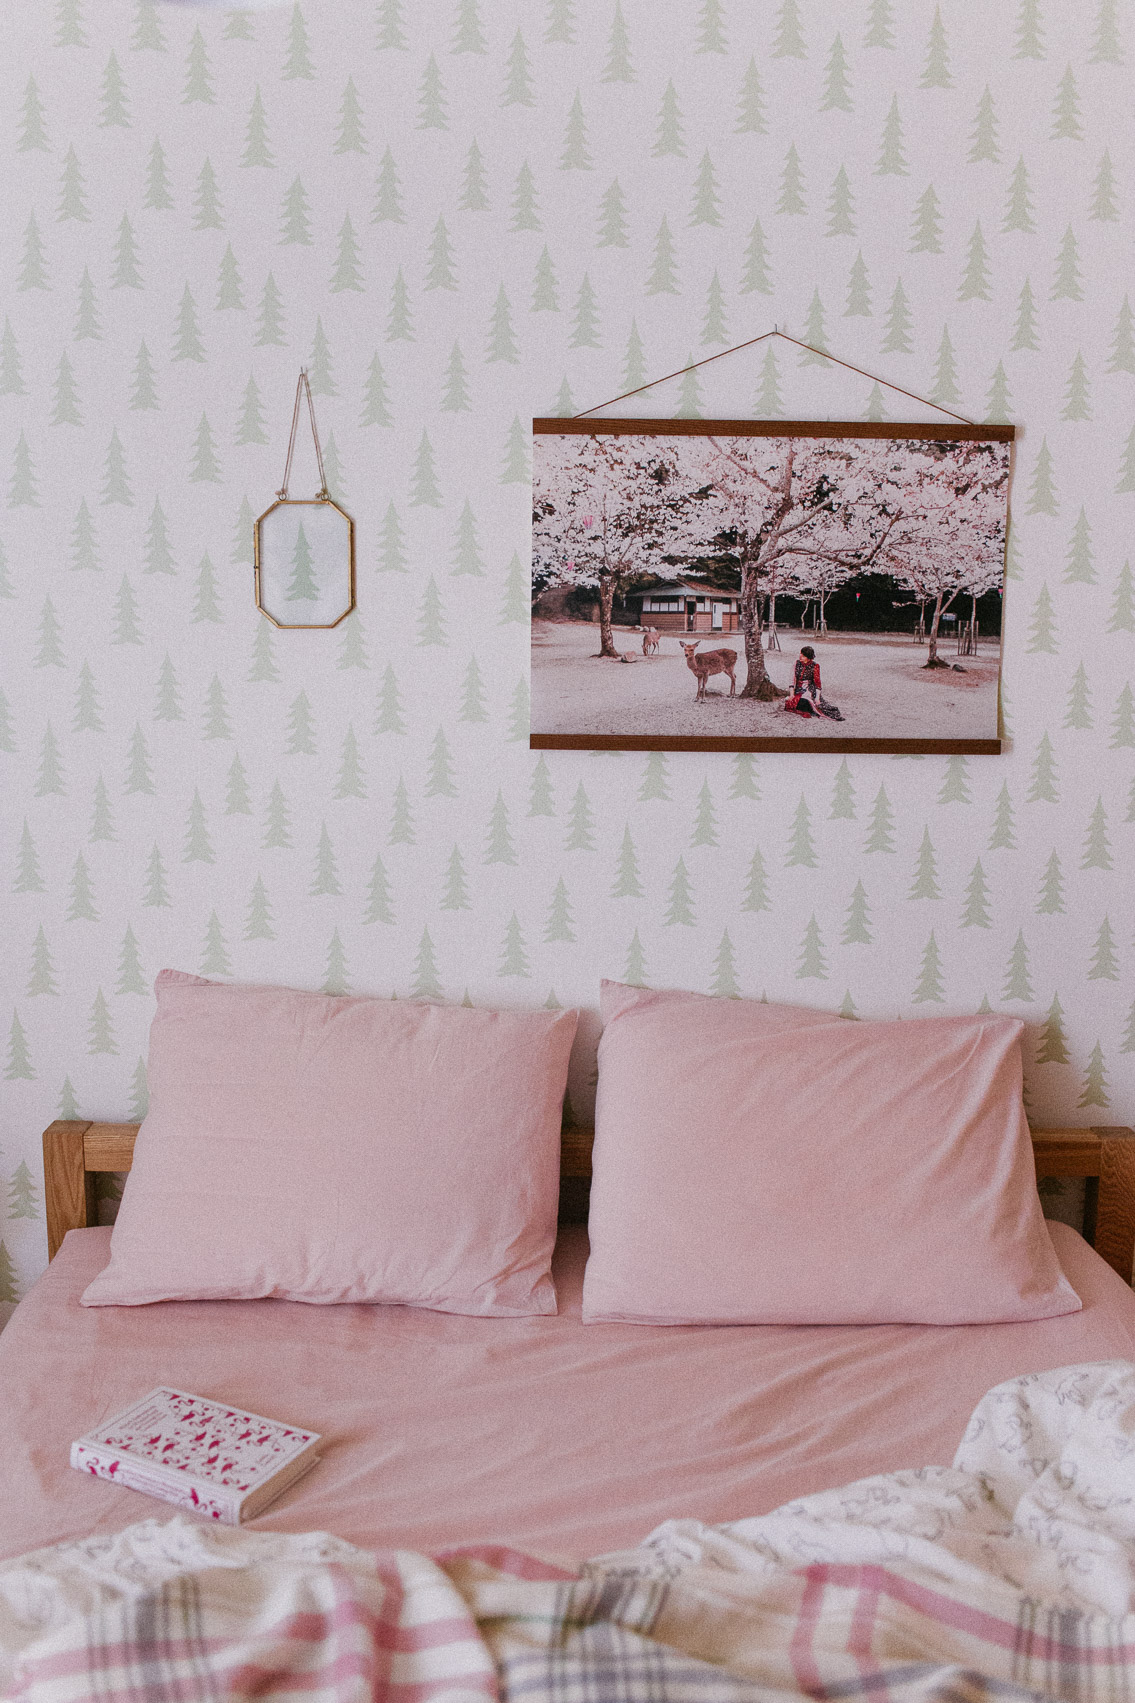
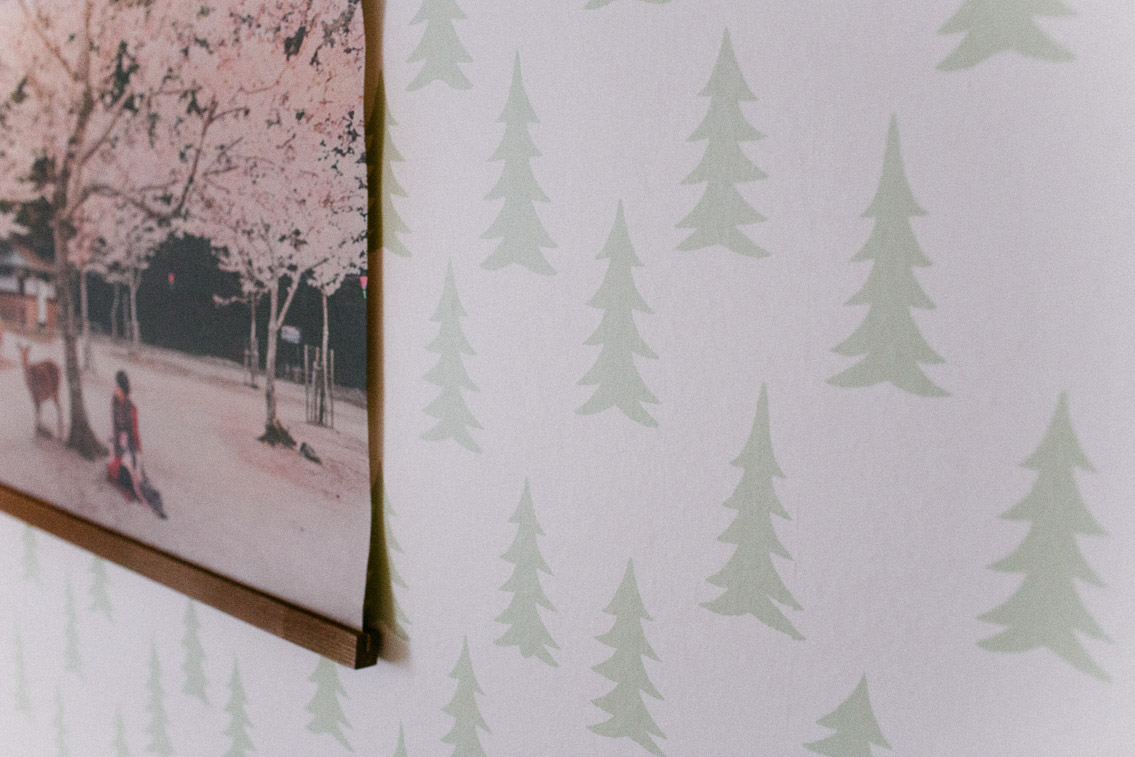
Here’s where Photowall comes into the story! We were contacted by them for a collaboration (always thankful to have such nice companies willing to collaborate!) and couldn’t believe my eyes when I saw that they had wallpapers with those designs from Fine Little Day that were stuck in my mind. Since I can never rush my decisions, I went three times through all of their catalog (which is vast, let me tell you!) but finally I had to go with my heart, hence the little classical trees from Fine Little Day :)
Need to mention of course, and In case you haven’t read already, for the last weeks and due to the worldwide health crisis, in Spain we have been quarantining inside home (if you are curious, at the moment I’m writing this I have been 23 days), so it was extra exciting to have this type of project to look ahead.
Well, without further ado, let’s see how we did with the project and how our bedroom looks now, we welcome you into our bedroom!

Just a little reminder of how our bedroom looked before this project! The wall color is the one that came with the apartment, we only added those two NYC artwork pieces to decorate. Since it was a little bland, we added a quirkier touch using our duvet cover.
STEPS
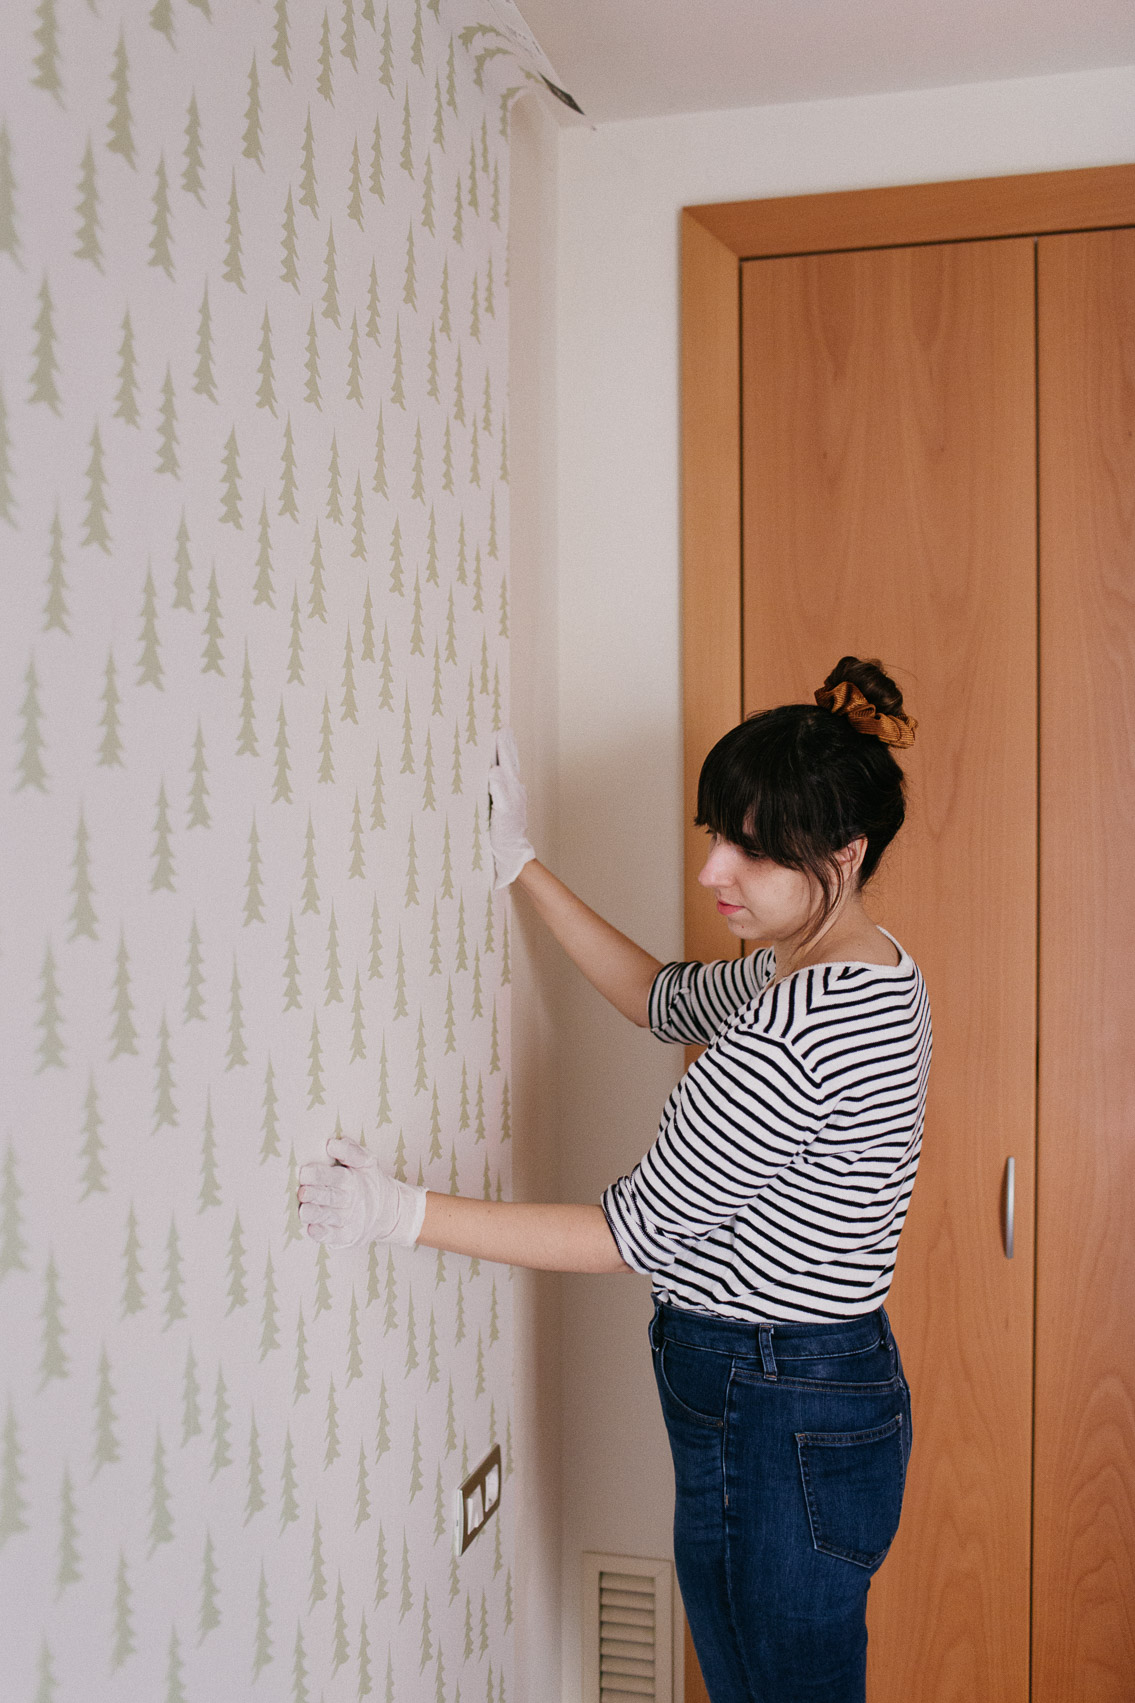
Putting the wallpaper was quite straightforward, more if you consider that it was our first time using it on a wall. We had a single previous experience adding wallpaper into the back of two of our IKEA bookcases to personalize them, but overall it was quite a different experience. When we started we had some small concerns because our wall wasn’t plain, it had two sets of electrical switches, an antenna and also one of those hidden electrical boxes. But we watched some videos on how to avoid those type of obstacles, and it finally was quite easy, let me explain all the steps we did!
- 1
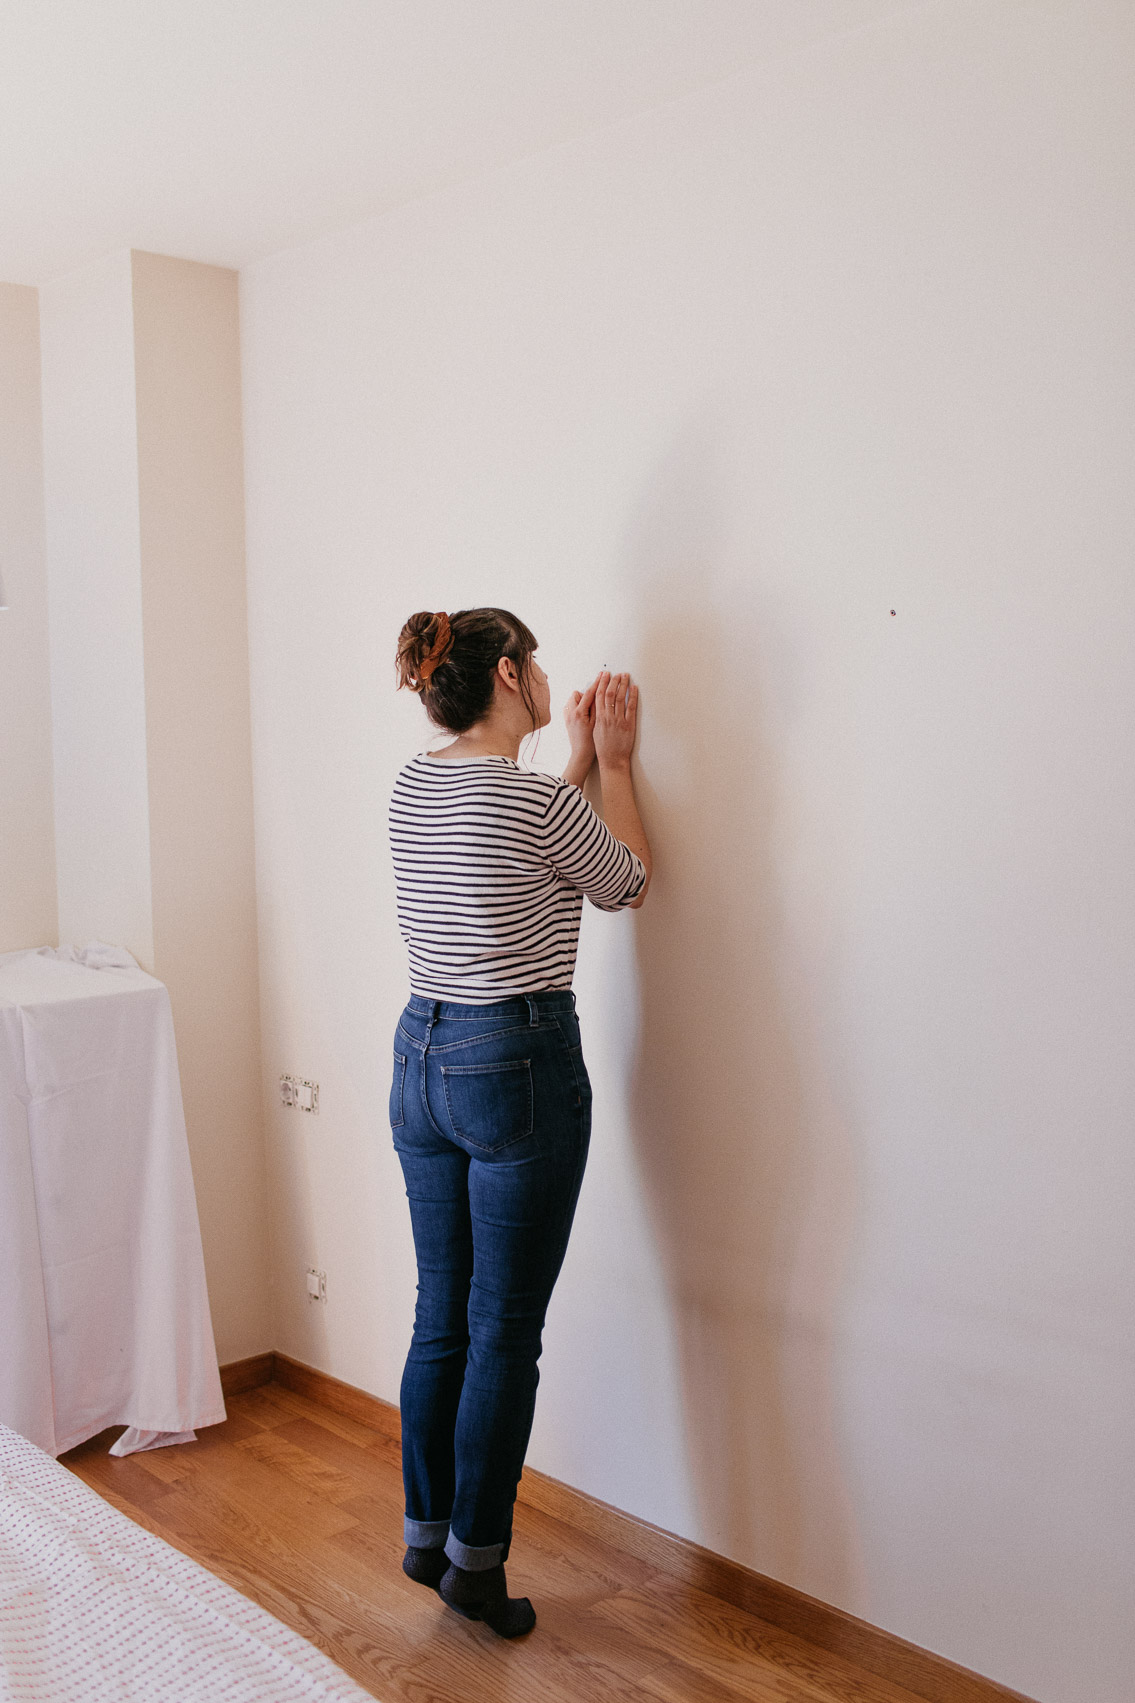
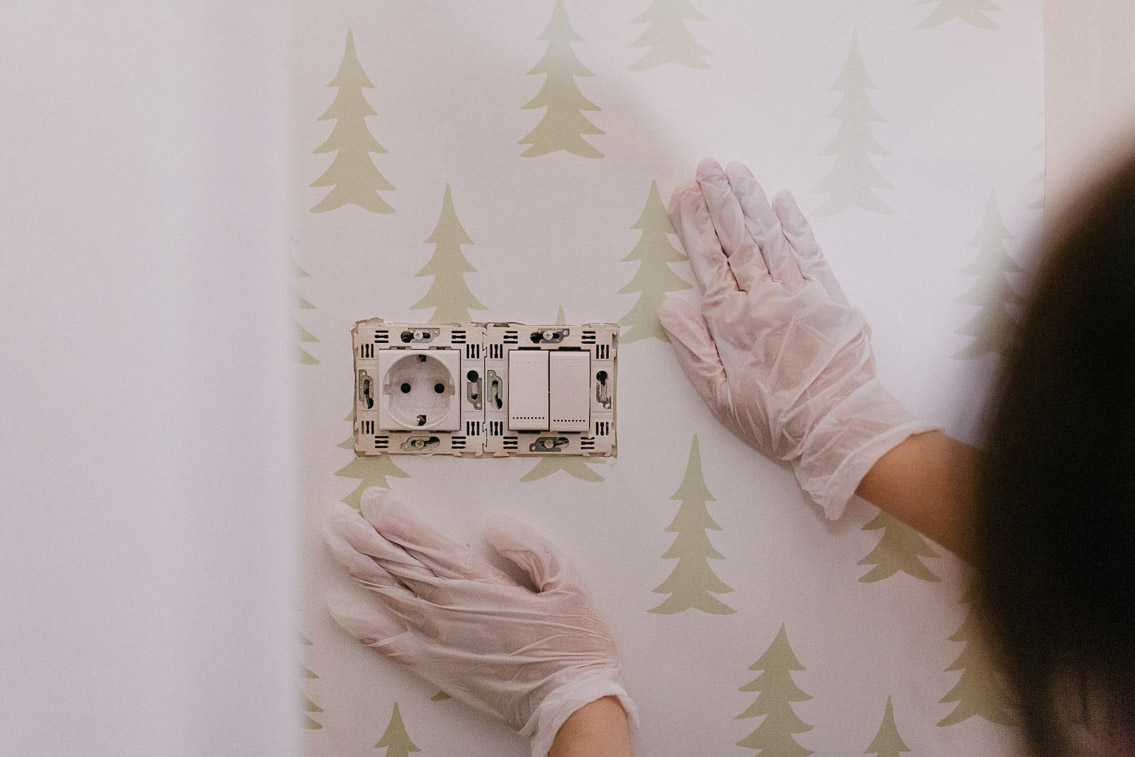
We removed the decorative plate of the electrical switches and antenna. There was small dent in each side, I used a flat blade screwdriver to pull them. - 2
Since we already had two artworks on our wall, we removed the nails on the wall too. - 3
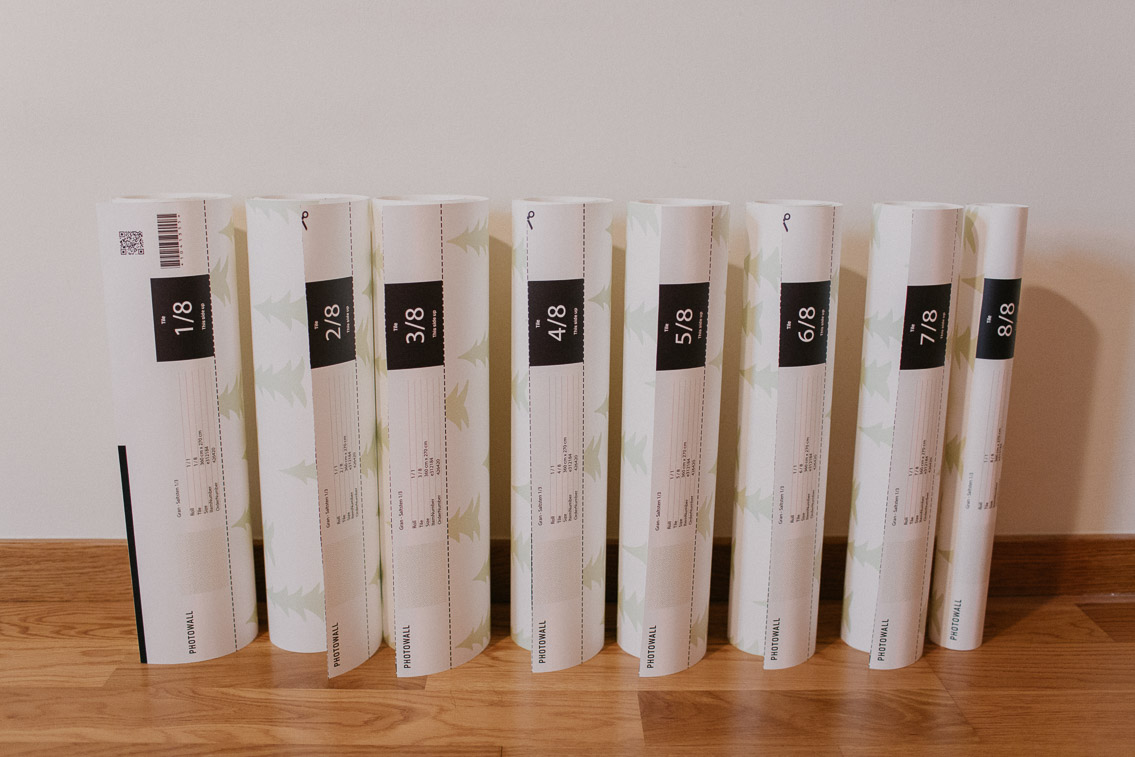
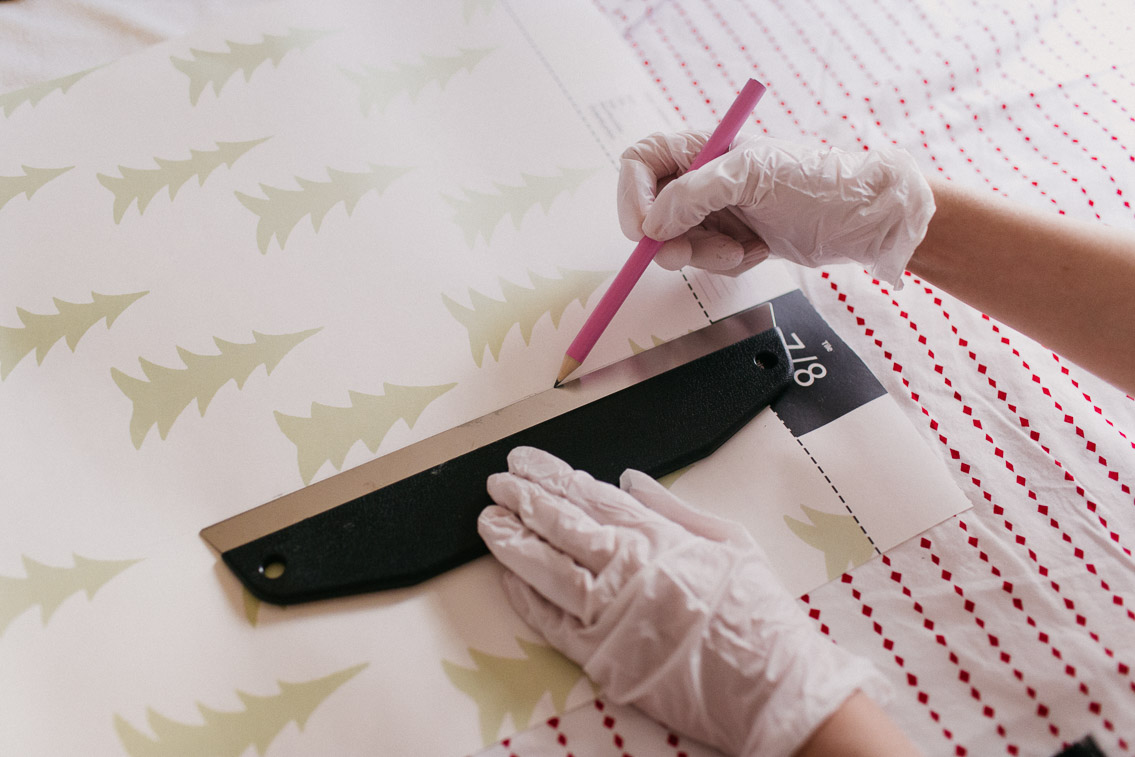
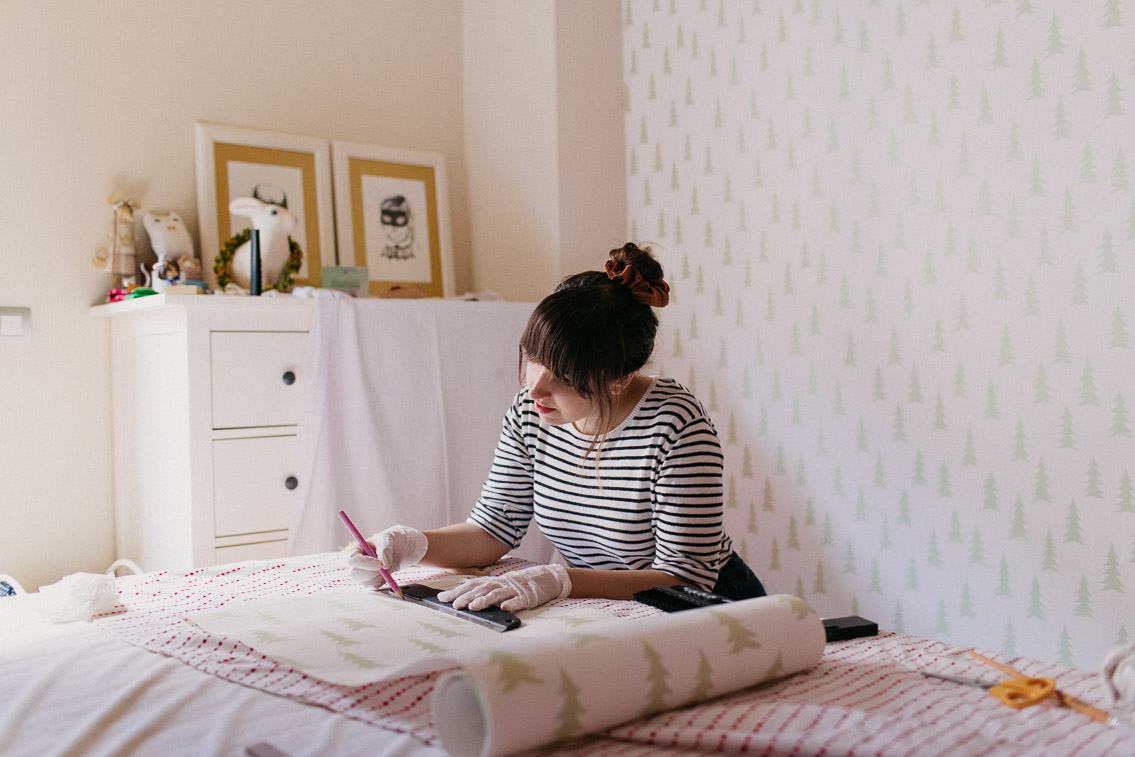
We cut each of the pieces of wallpaper. The guys at Photowall have each paper perfectly numbered, and a cutting line drawn, so it’s easy.
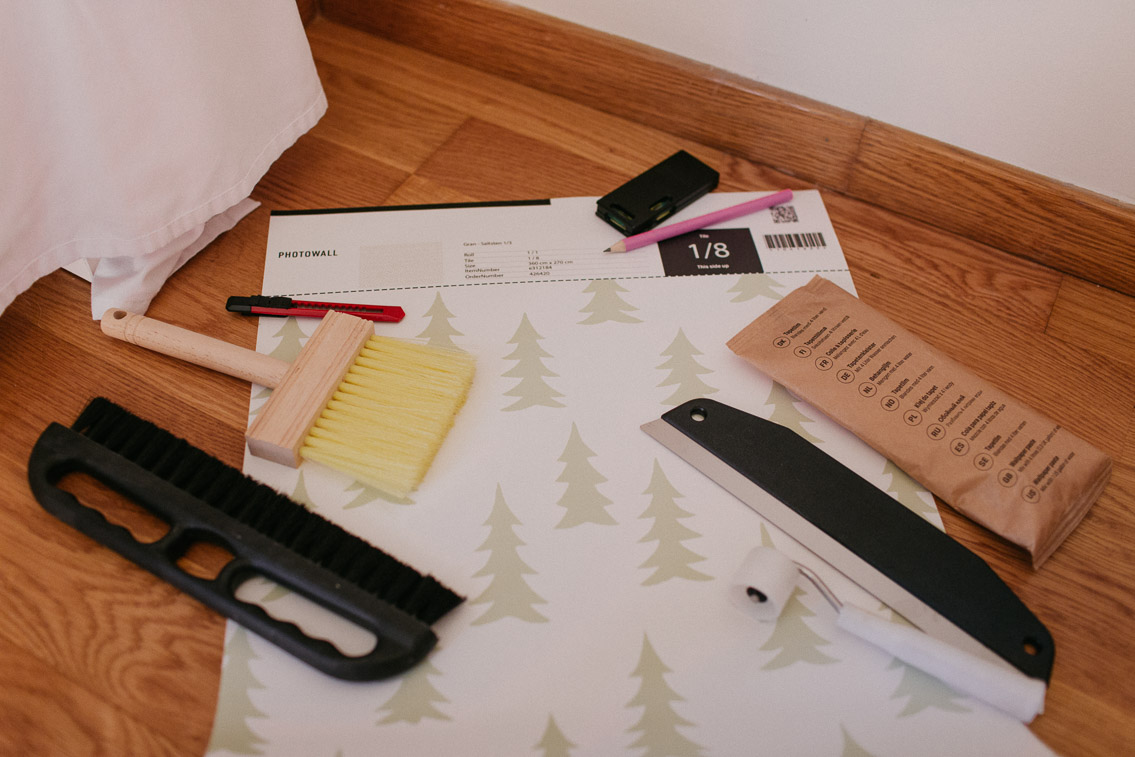
- Glue for the walls. If you buy it at Photowall the paper already comes with a free glue power bag.
- Medium sized brush for the wall.
- Brush or a cloth for smoothing the paper on the wall, and a roller to bond the strips sides togeher.
- Trimming knife.
- Cutting guide.
- Extra: bubble level, ruler, pencil.
- 4
Do the glue preparation, it needs 4L for the whole package of glue power. However we decided that in case we weren’t going to complete the project in the same day, or in case we needed more glue to stick the corners, we were going to use first only half of the recipe: 2L, and a half of the glue power package. I definitely recommend following our example, we even had finally some (small) spare for another project. - 5
Start spreading the glue, don’t do it in all the wall because it can dry before you start putting the paper, do only enough for the first paper roll (which is 45 cm), add a little more glue so the side gets completely stuck. Here, we have a recommendation, use a heavy amount of glue, we started by only slightly covering the wall, and when we put the paper up, it was immediately peeling off. - 6
Glue the paper to the wall, start from top and use your hands to stick it to the wall, it’s easy because we had the wall corner as reference to put it completely straight. The papers come with a header, but we allowed for a few cm extras to avoid mistakes when cutting the top of the paper. - 7
Our first two obstacles were just in that first roll, while we were sticking the paper to the wall when we arrived to the electrical switch, we marked the corners of the switch and cut them with a cutter knife. Remember that you don’t have to be super precise because the decorative plate will hidden the corners, still try to not be a mess ;) because at least with our plates, there wasn’t a lot of room for mistakes.
- 8
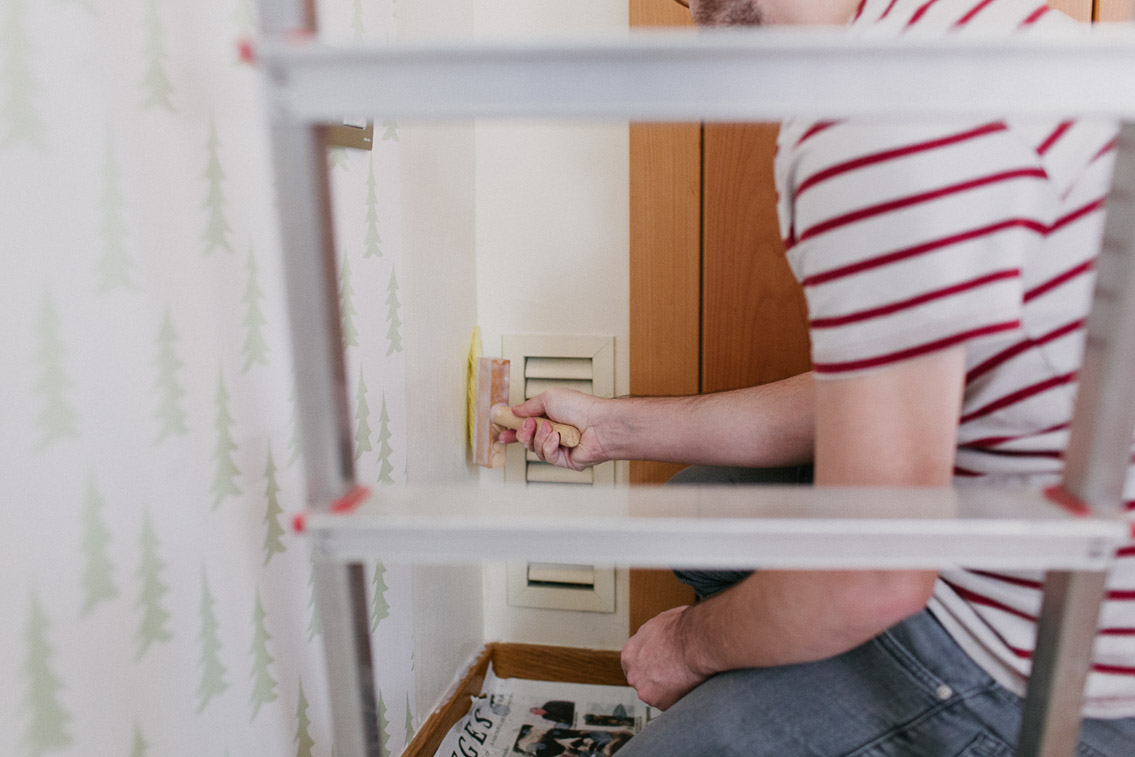
Keep gluing the paper to the wall with your hands until you get to the baseboard, don’t cut it now. Now use the black brush from the kit all over the paper to smooth it. - 9
For the second paper roll, follow the same steps for the glue, but then while putting the paper be careful to align the pattern correctly. Also, be aware of putting the paper completely attached to the side of the other paper but not overlapping it. The same applies for the rest of paper rolls. - 10
Now you have reached the last paper roll, chances are high that you won’t need all the width of this paper, like it happened for us. In fact, we only needed around half of it. For this, since our wall was cornering into a built-in-wardrobe we preferred to pre-cut the roll, this allowed us to better work with the paper to stick it until the side of the wall. Considering that the paper is quite thick, having less leftovers helps a lot while working on the corners. Again, we measured considering some extra cm in the side. - 11
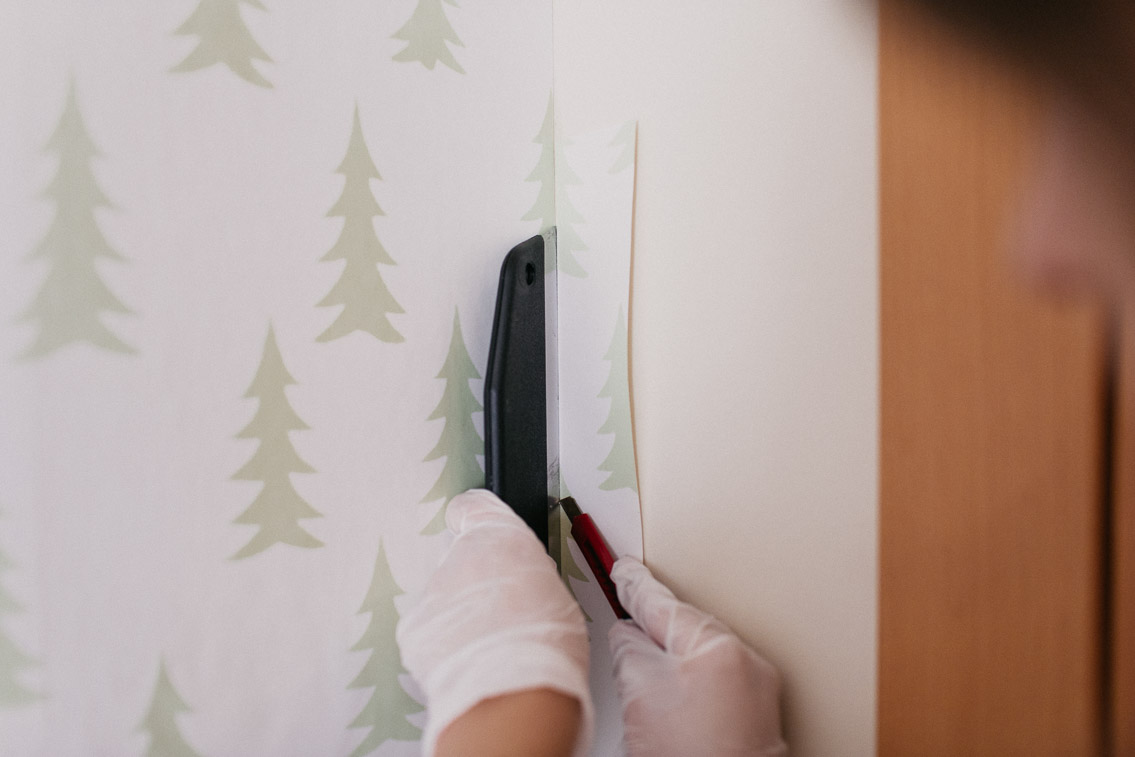
Once all the paper strips are glued to the wall, it’s time to trim the tops and bottoms, it was super easy to do it thanks to the sideboards and the cutting guide. The top is a little bit trickier since we had to glue before cutting it, because it was peeling a little bit from the wall, nothing to be afraid of, only be prepared to do some exercise with your arms, ha! Just a little tip, although we used the big brush from the kit, for all the glue on the wall, for those little details on top we used a little paintbrush we already owned.
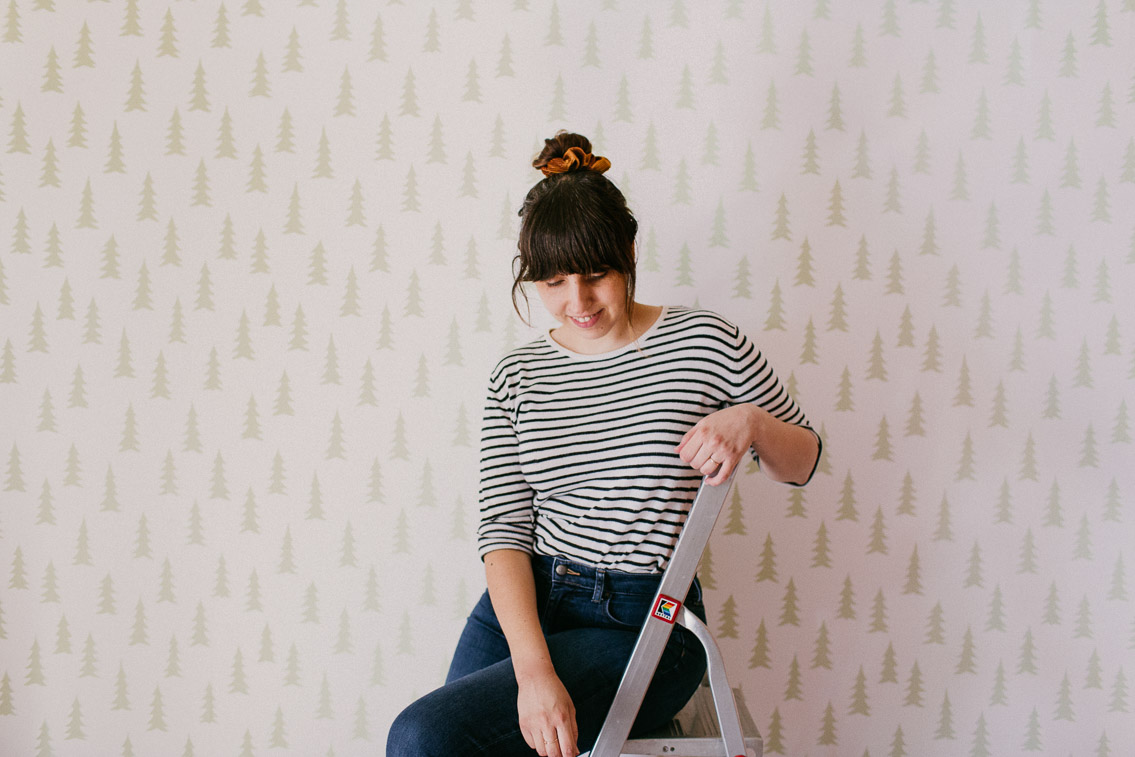
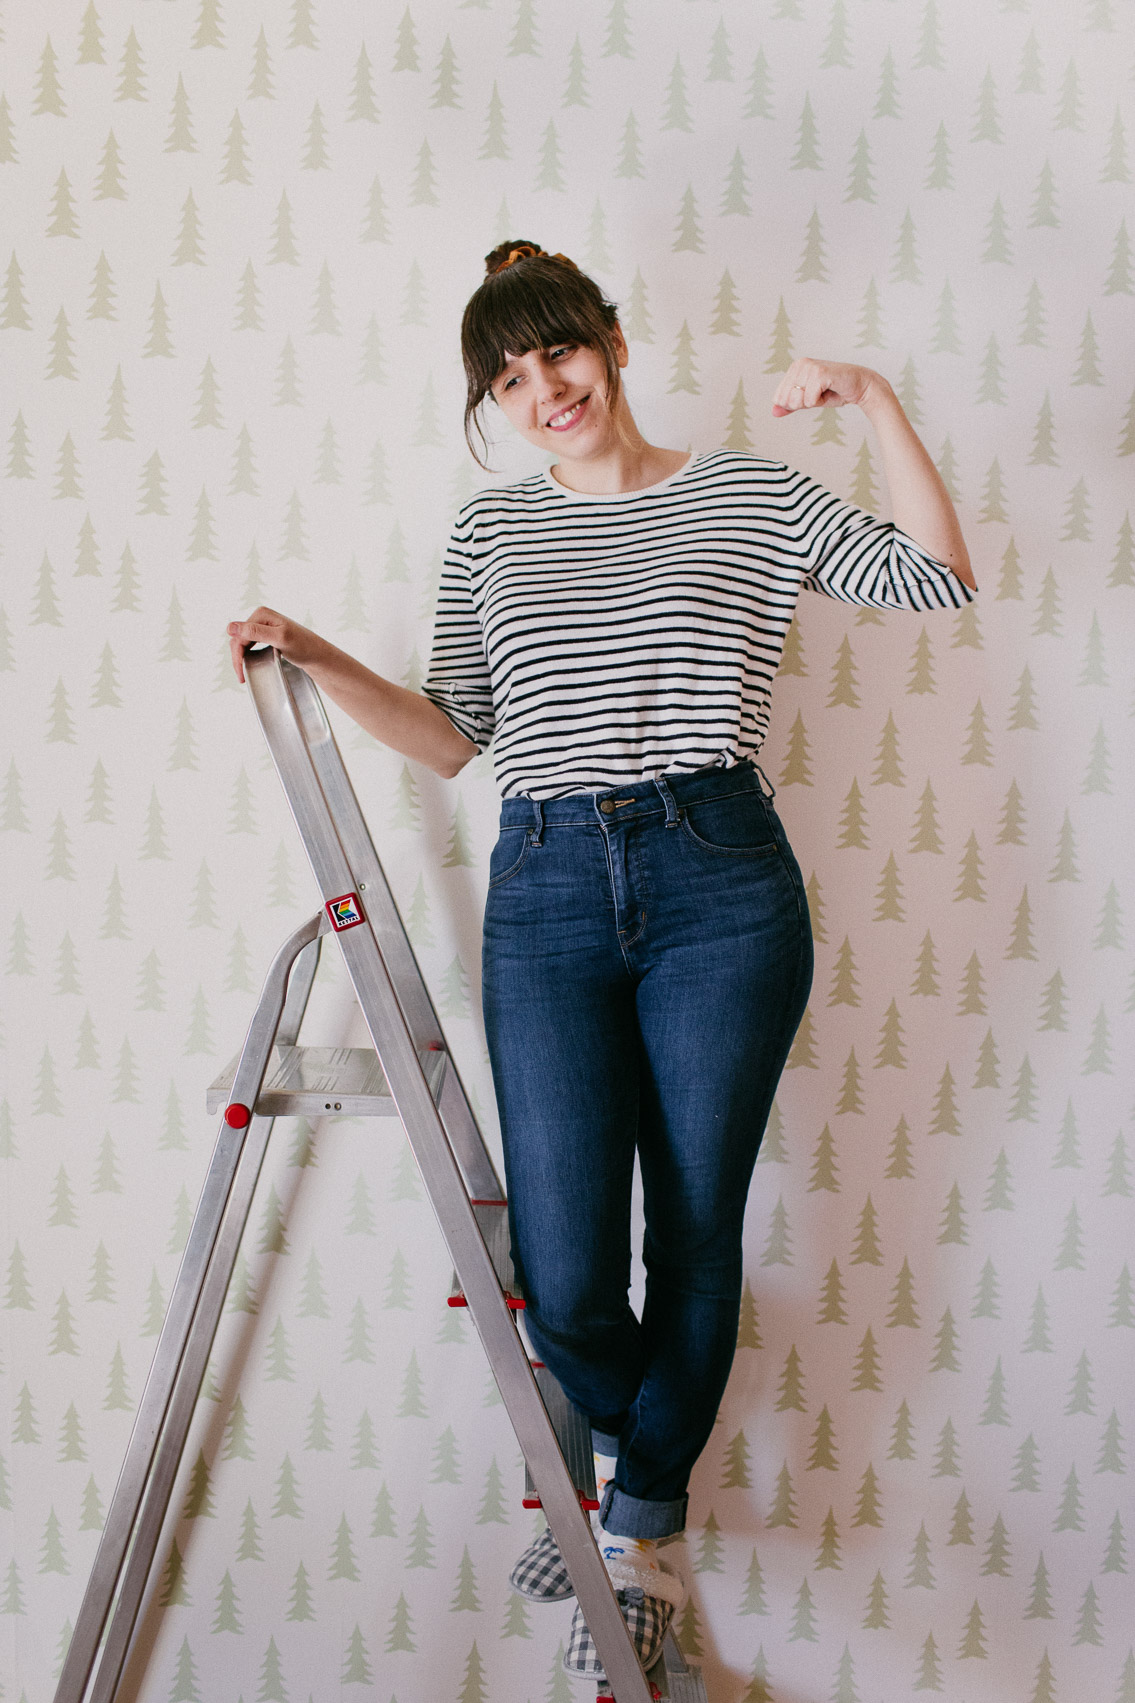
TAA-DAAA
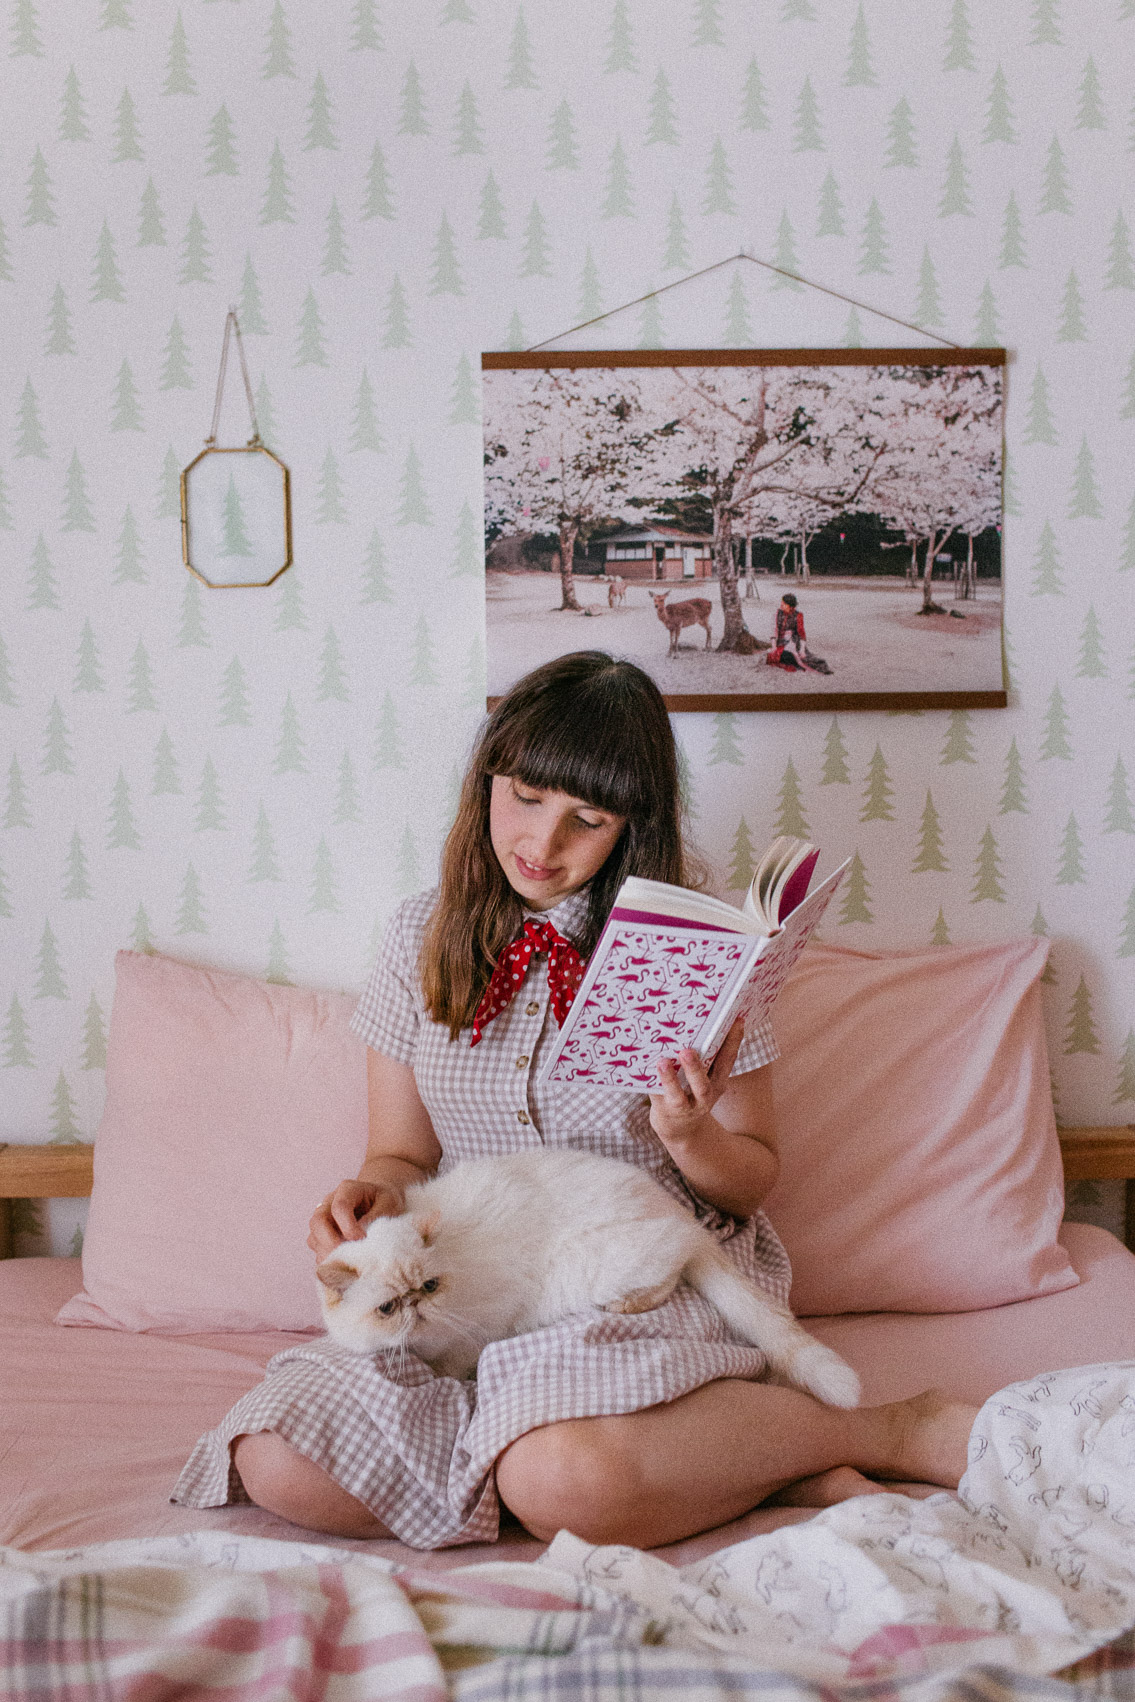
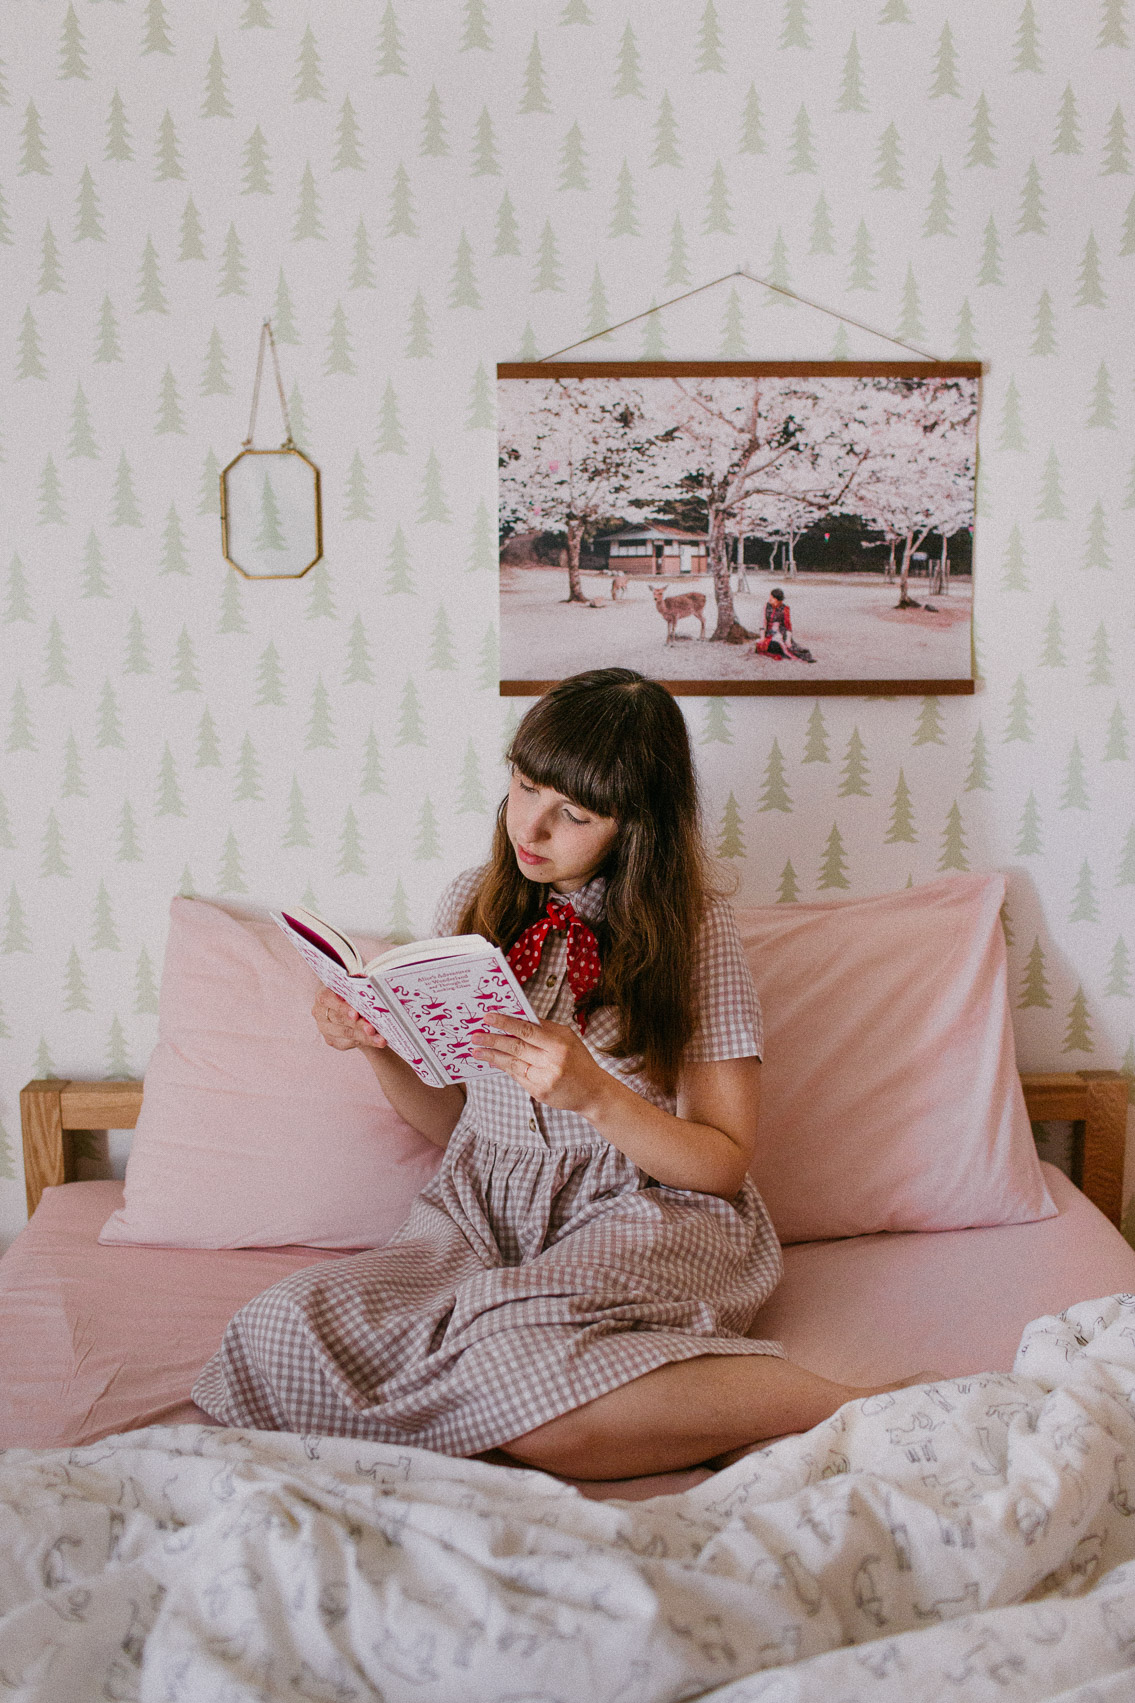
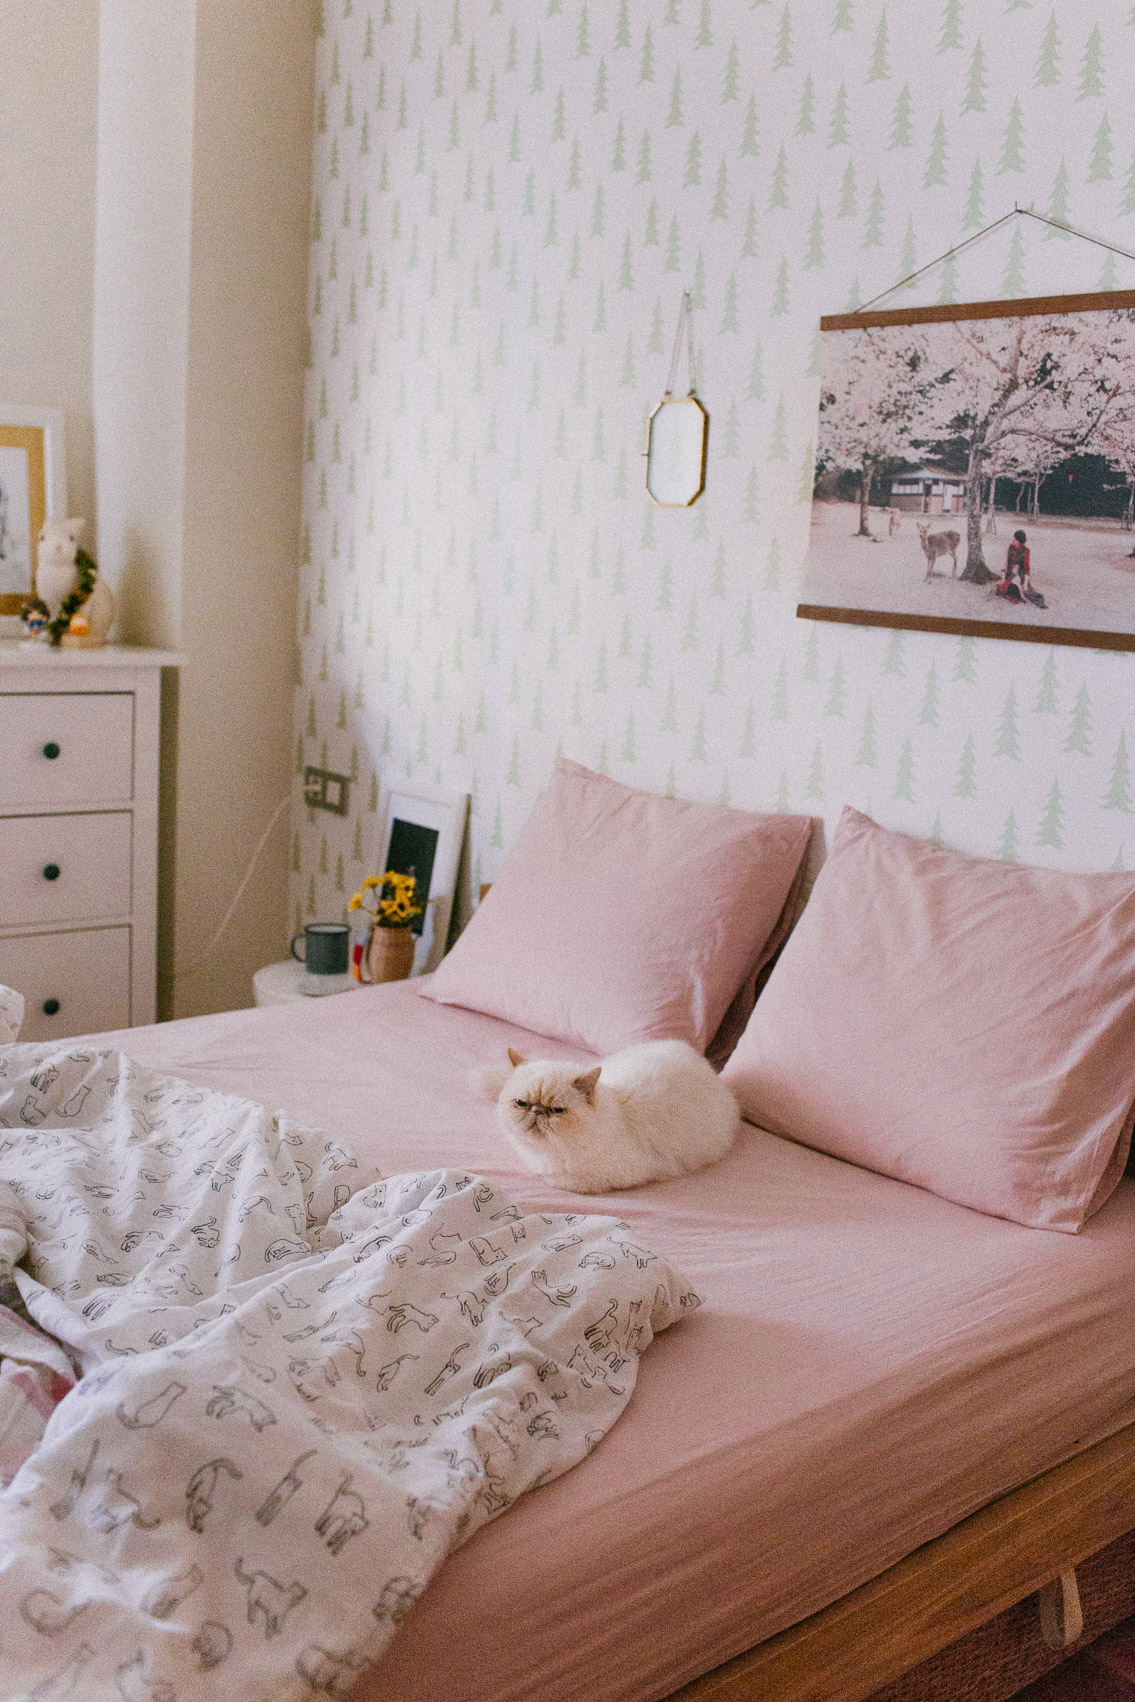
I was super proud with the result, and how it already looked so much like a new place, which is an amazing feeling right now to be honest, after so many days watching the same walls and furniture 24h a day :) For the following days to the project, until the novelty wore off, it was like being in a cool airbnb-like cabin.
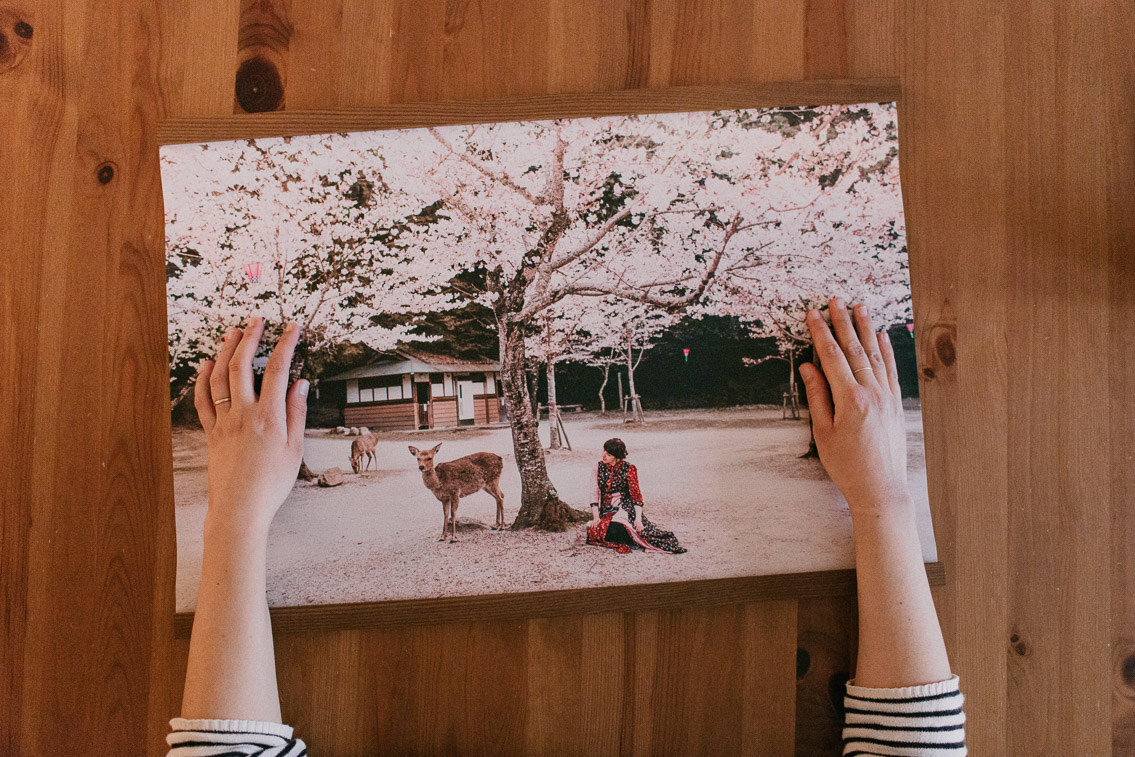
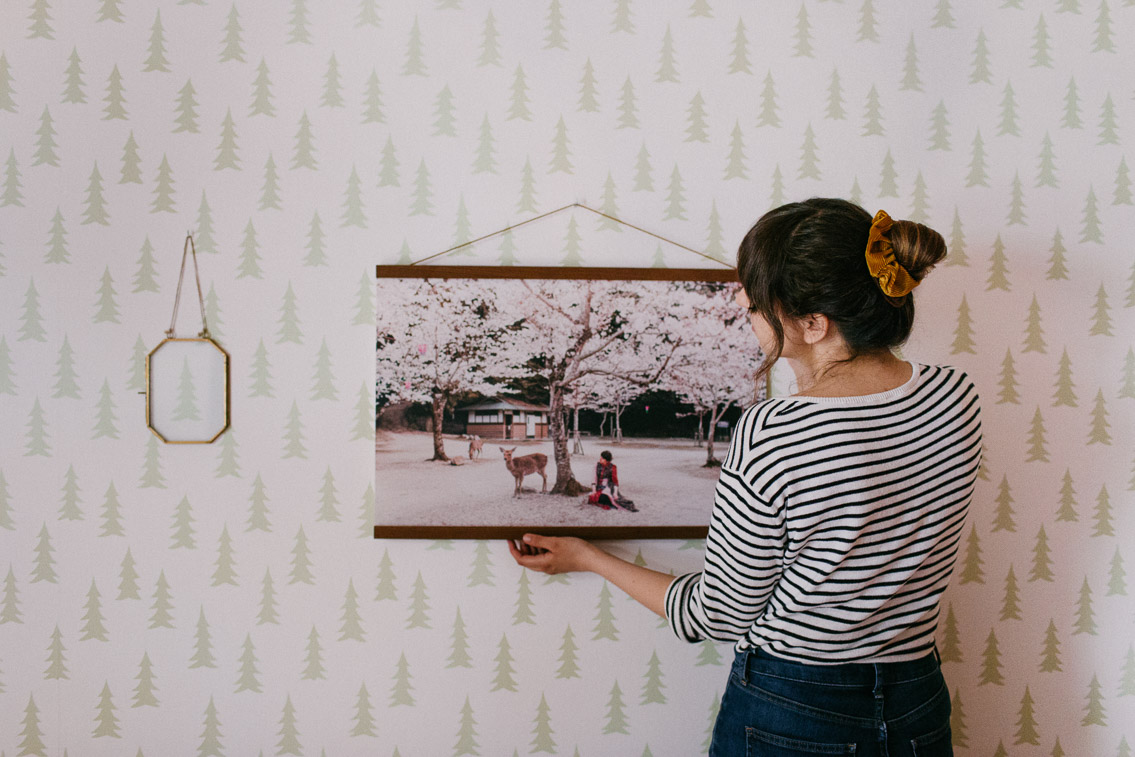
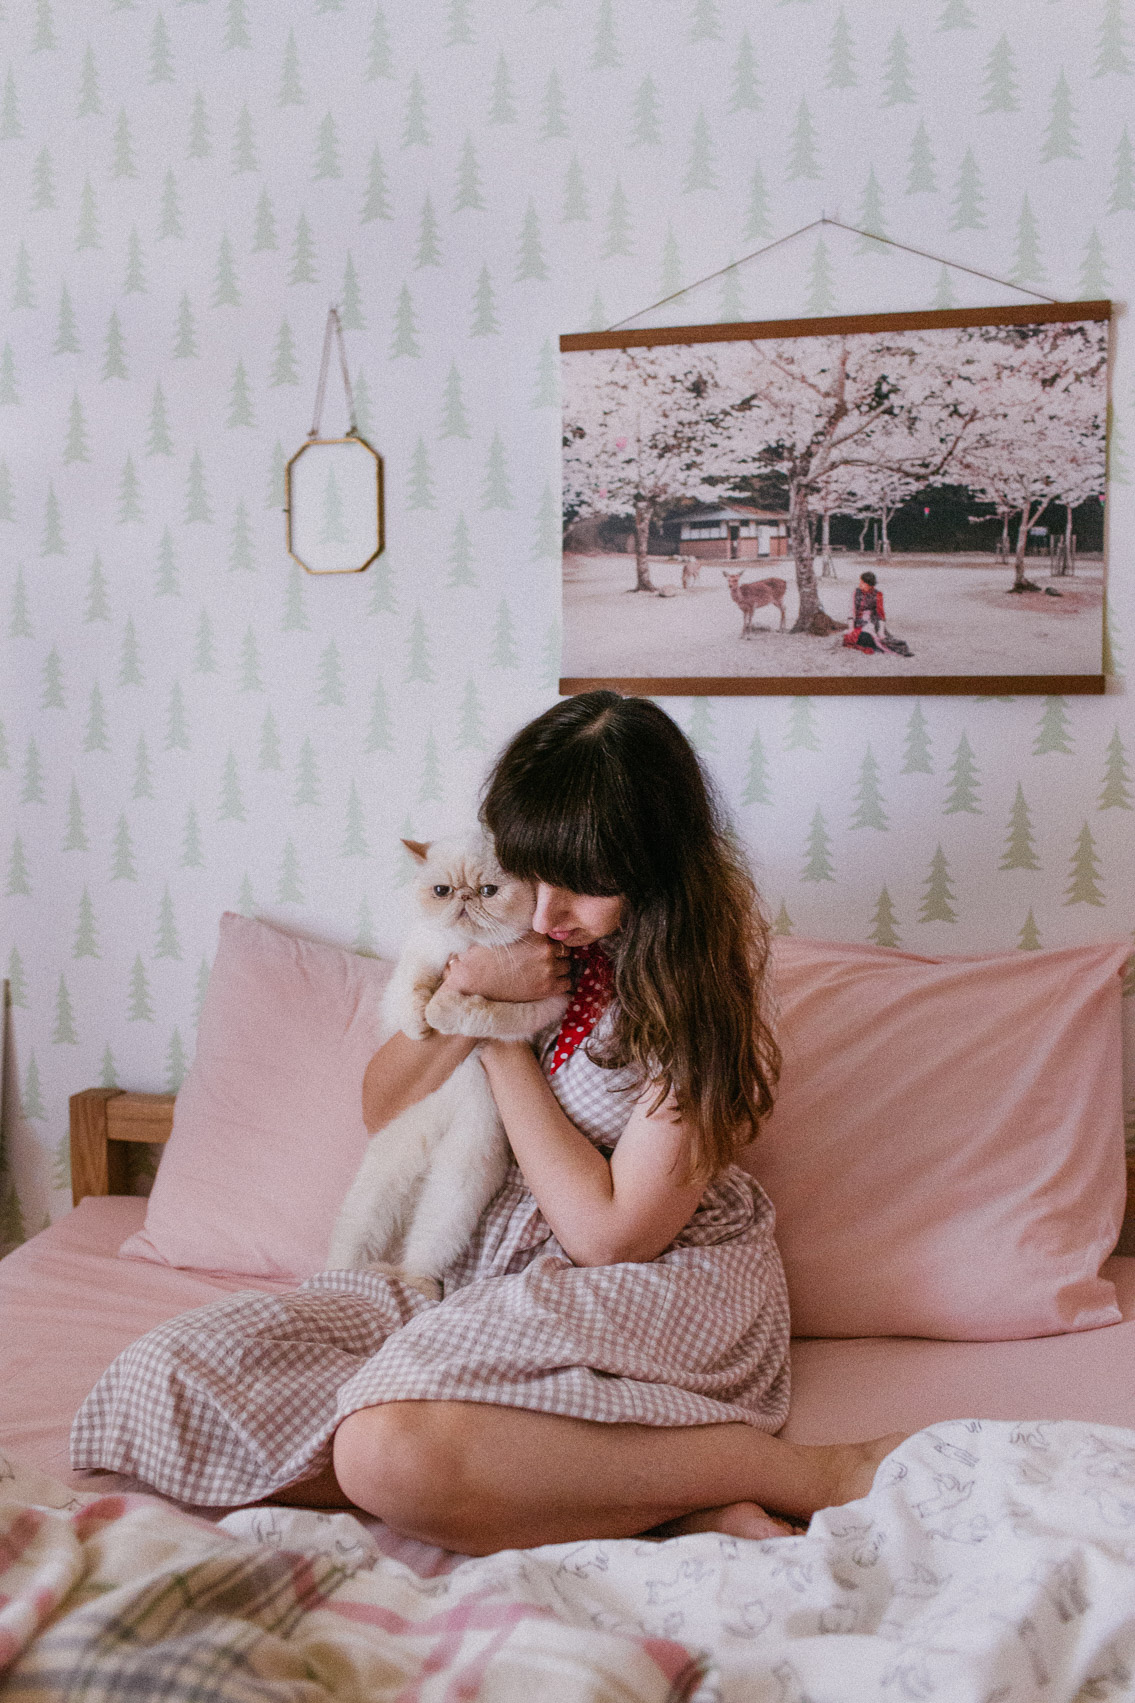
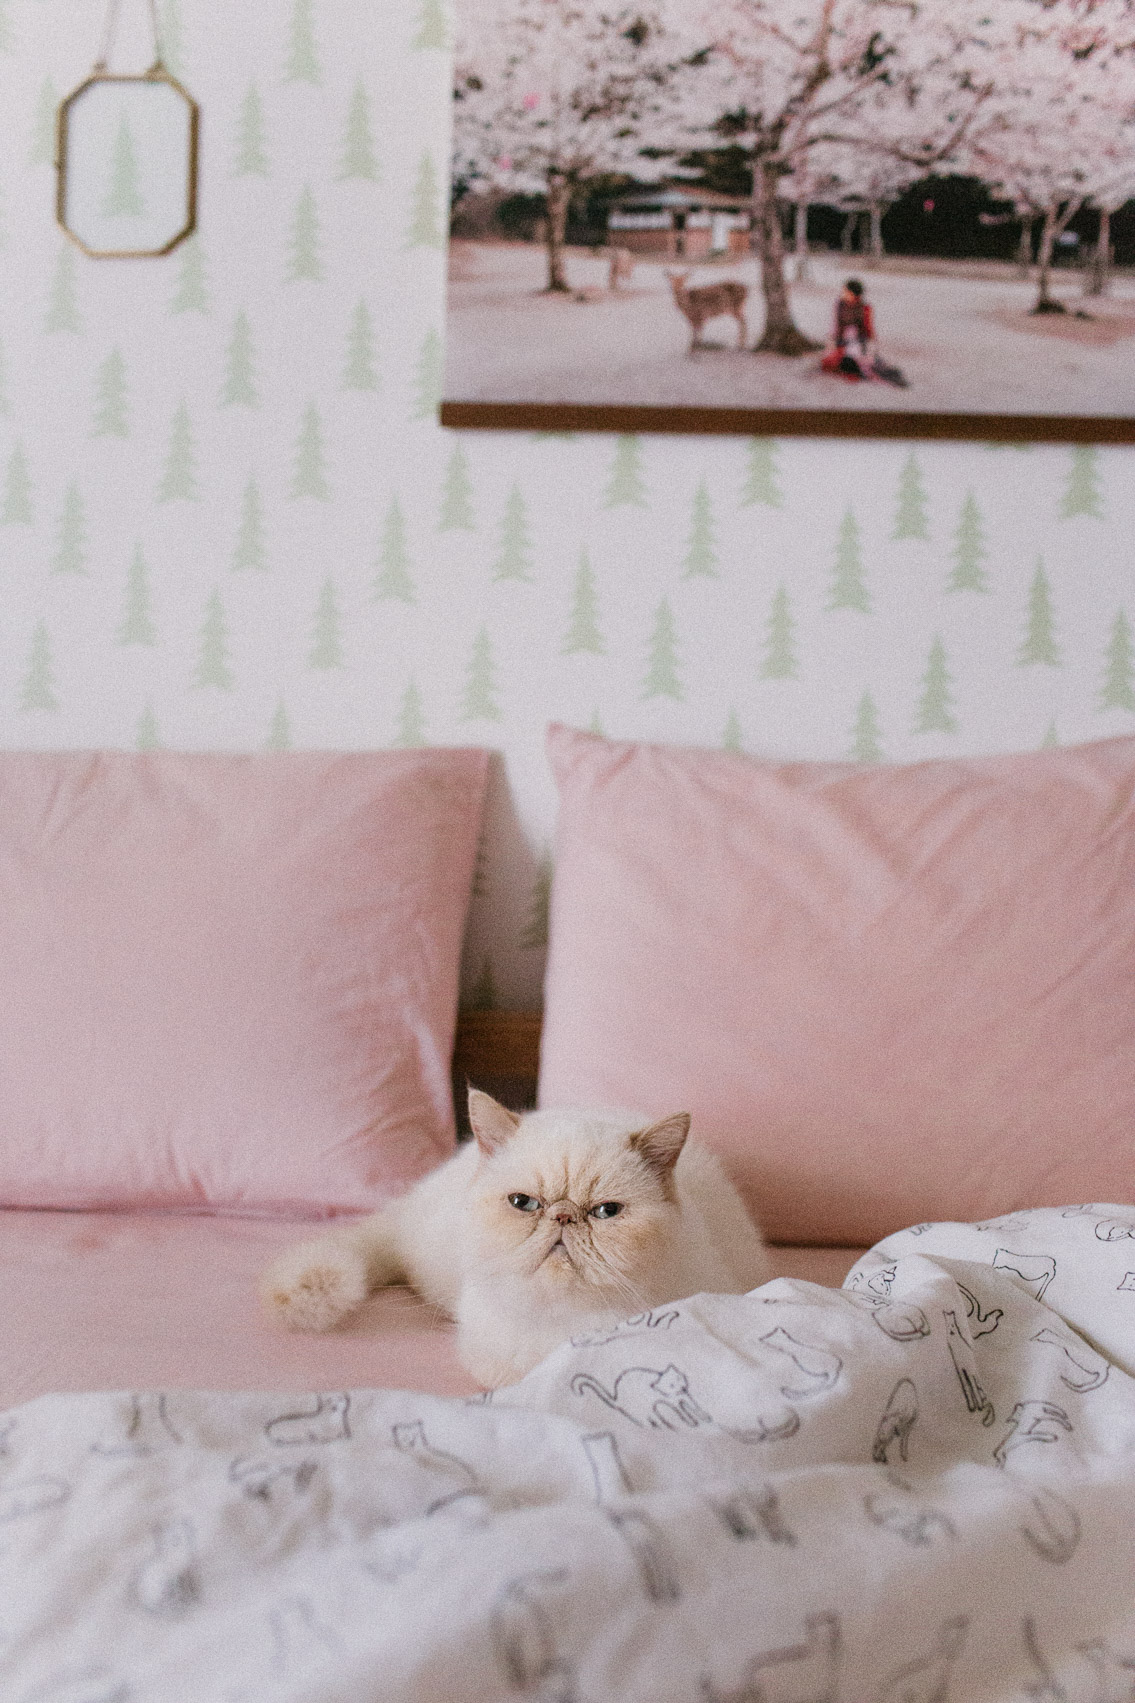
We were hesitant to keep the same artwork because after so many years (if I can recount correctly, 10 years!) we were super fond of them, however we had a surprise hidden in our sleeve related to one of the loves of our life: Japan. Altogether with the wallpaper we ordered one of the posters from Photowall that they print with one of your photos, perfect for us! We have lots of photos to print, but decided that we had to start with one of our favorites from Japan: sakura and deers in Miyajima. It brings exactly what we need for our bedroom: a dreamy wonderland while also keeps on with the cabin in the woods theme.
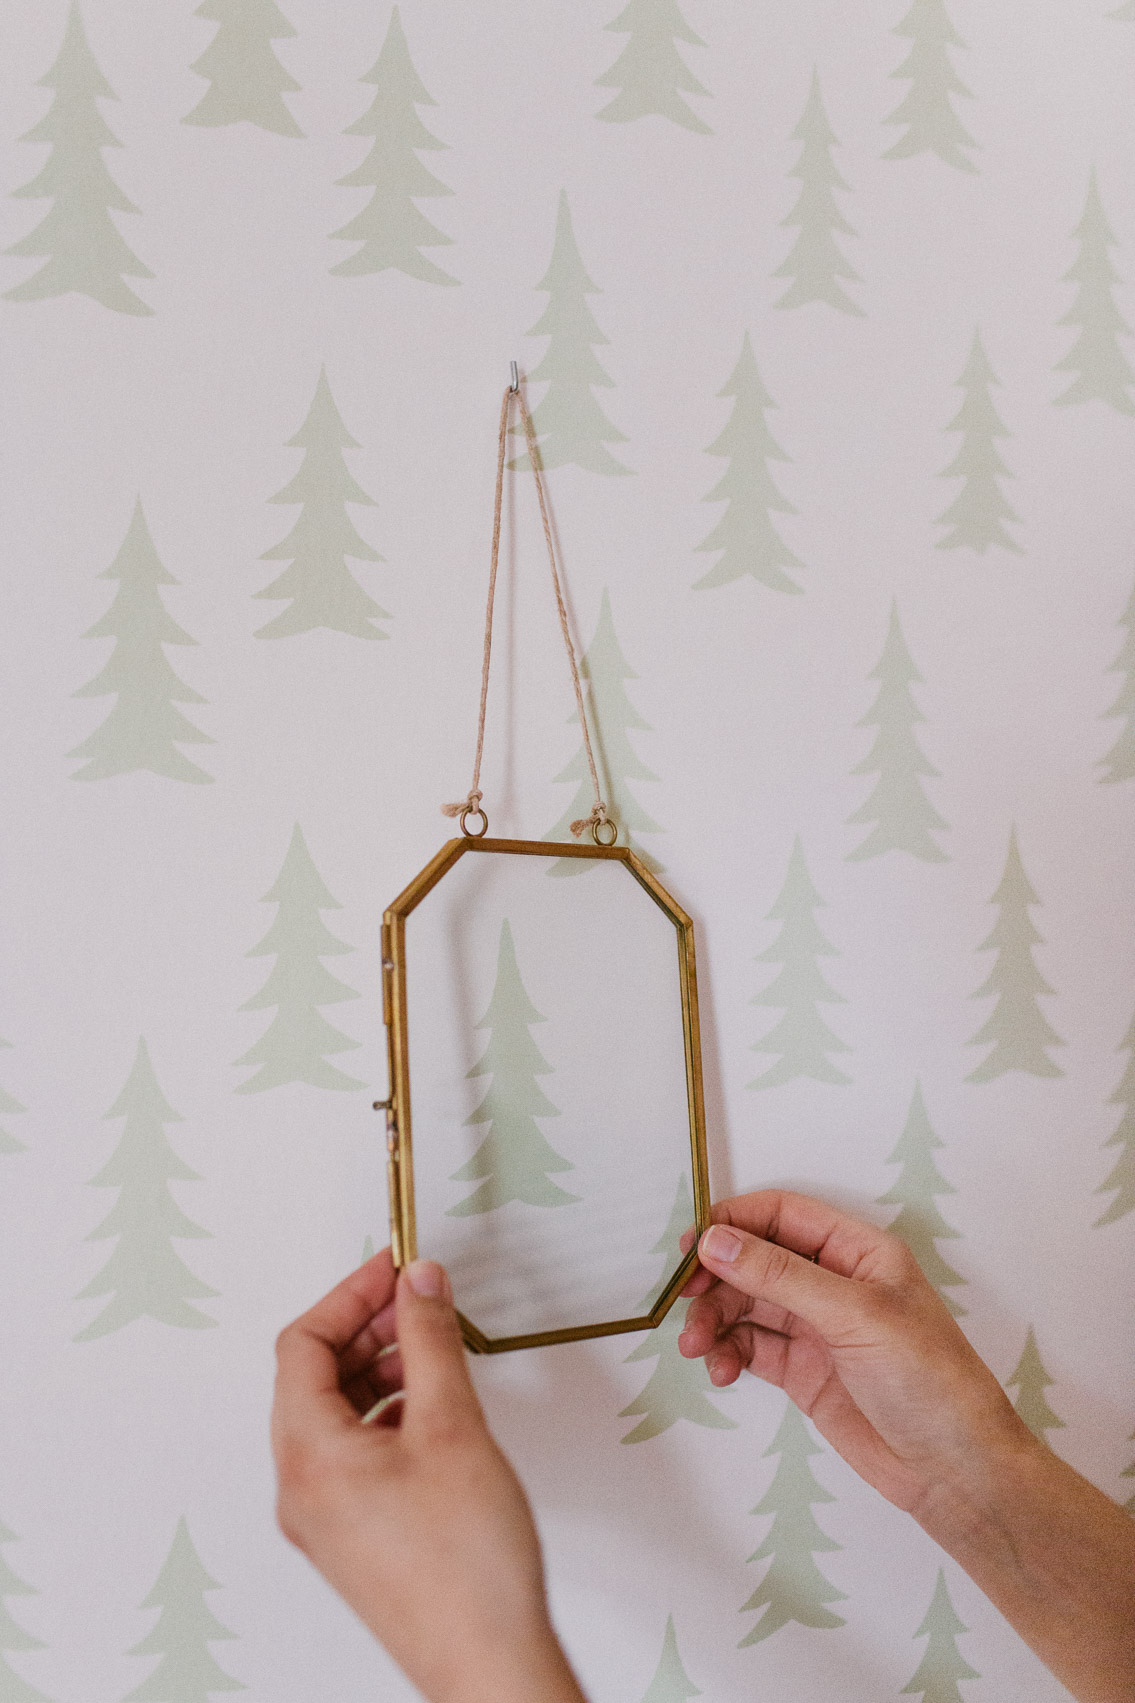
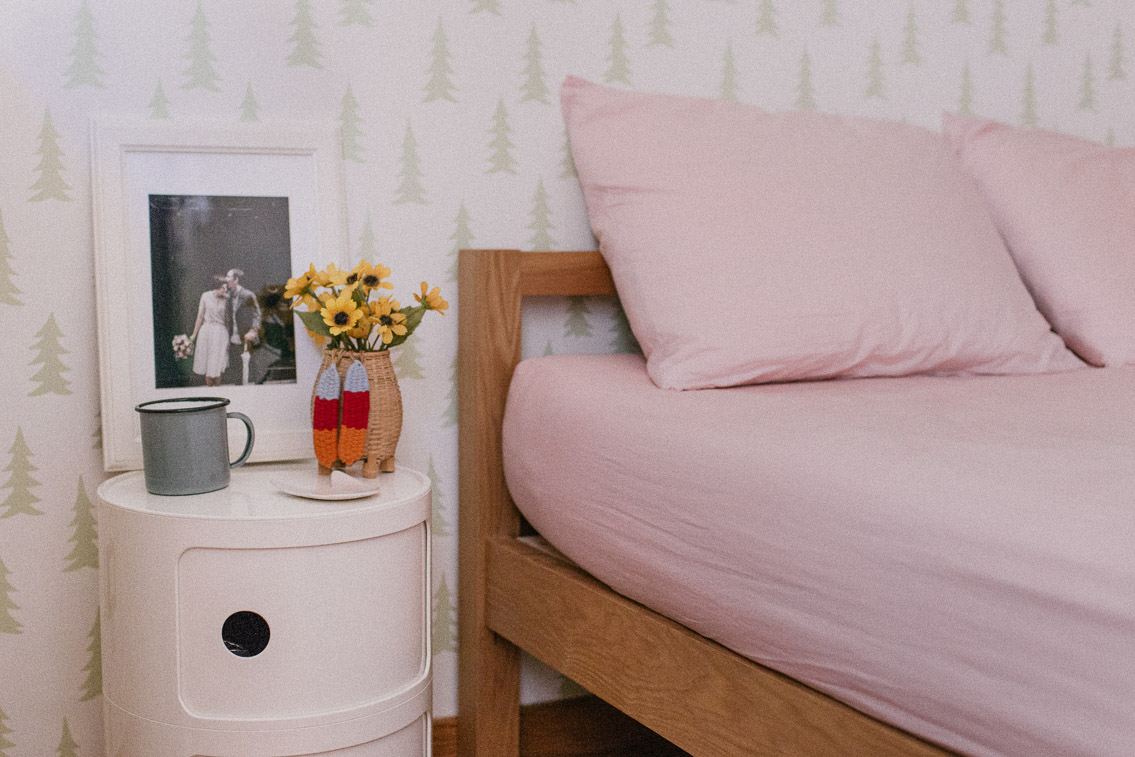
For the second nail in the wall, I put up a vintage-looking frame to give a little something else decor-wise, but keeping it simple because the wall already stands out in its own. I was thinking of storing inside a flower or an entrance to a Japanese temple, but then while hanging it on the wall I saw that it was just framing one of the little trees from the pattern, so I left it like that. What do you think? Should I add something else?

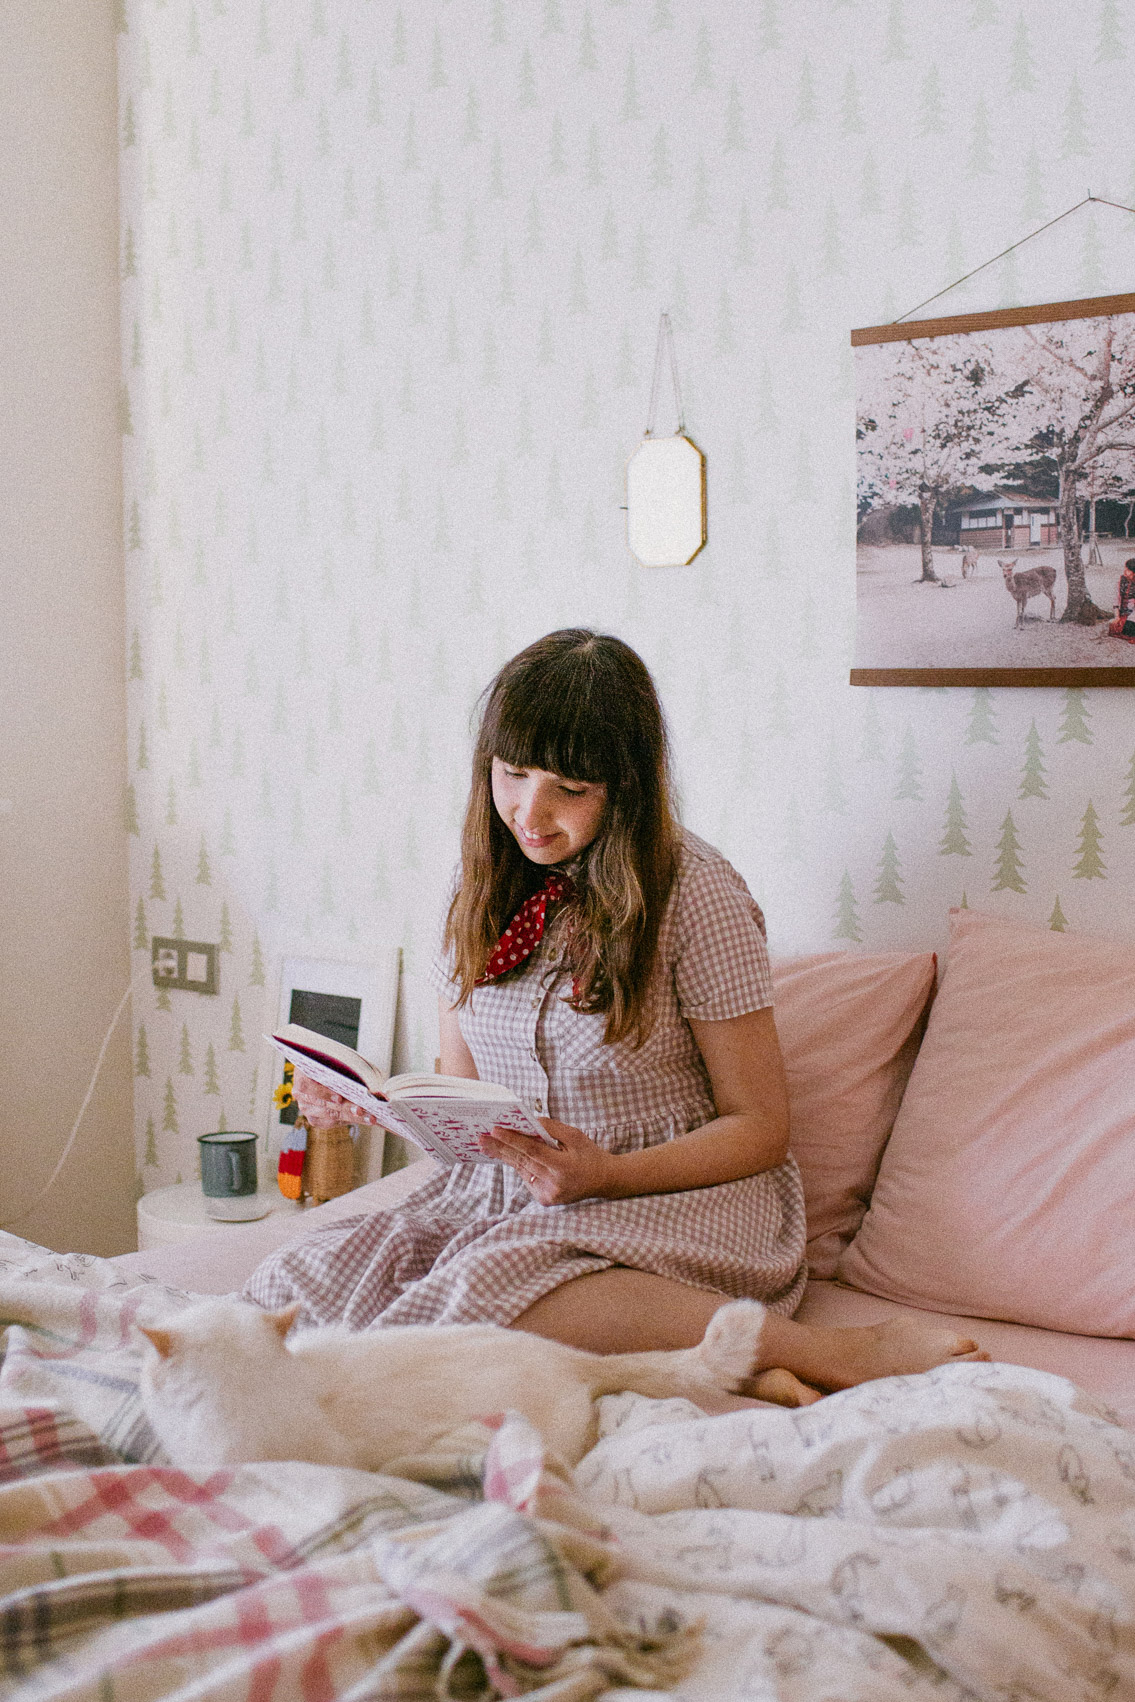
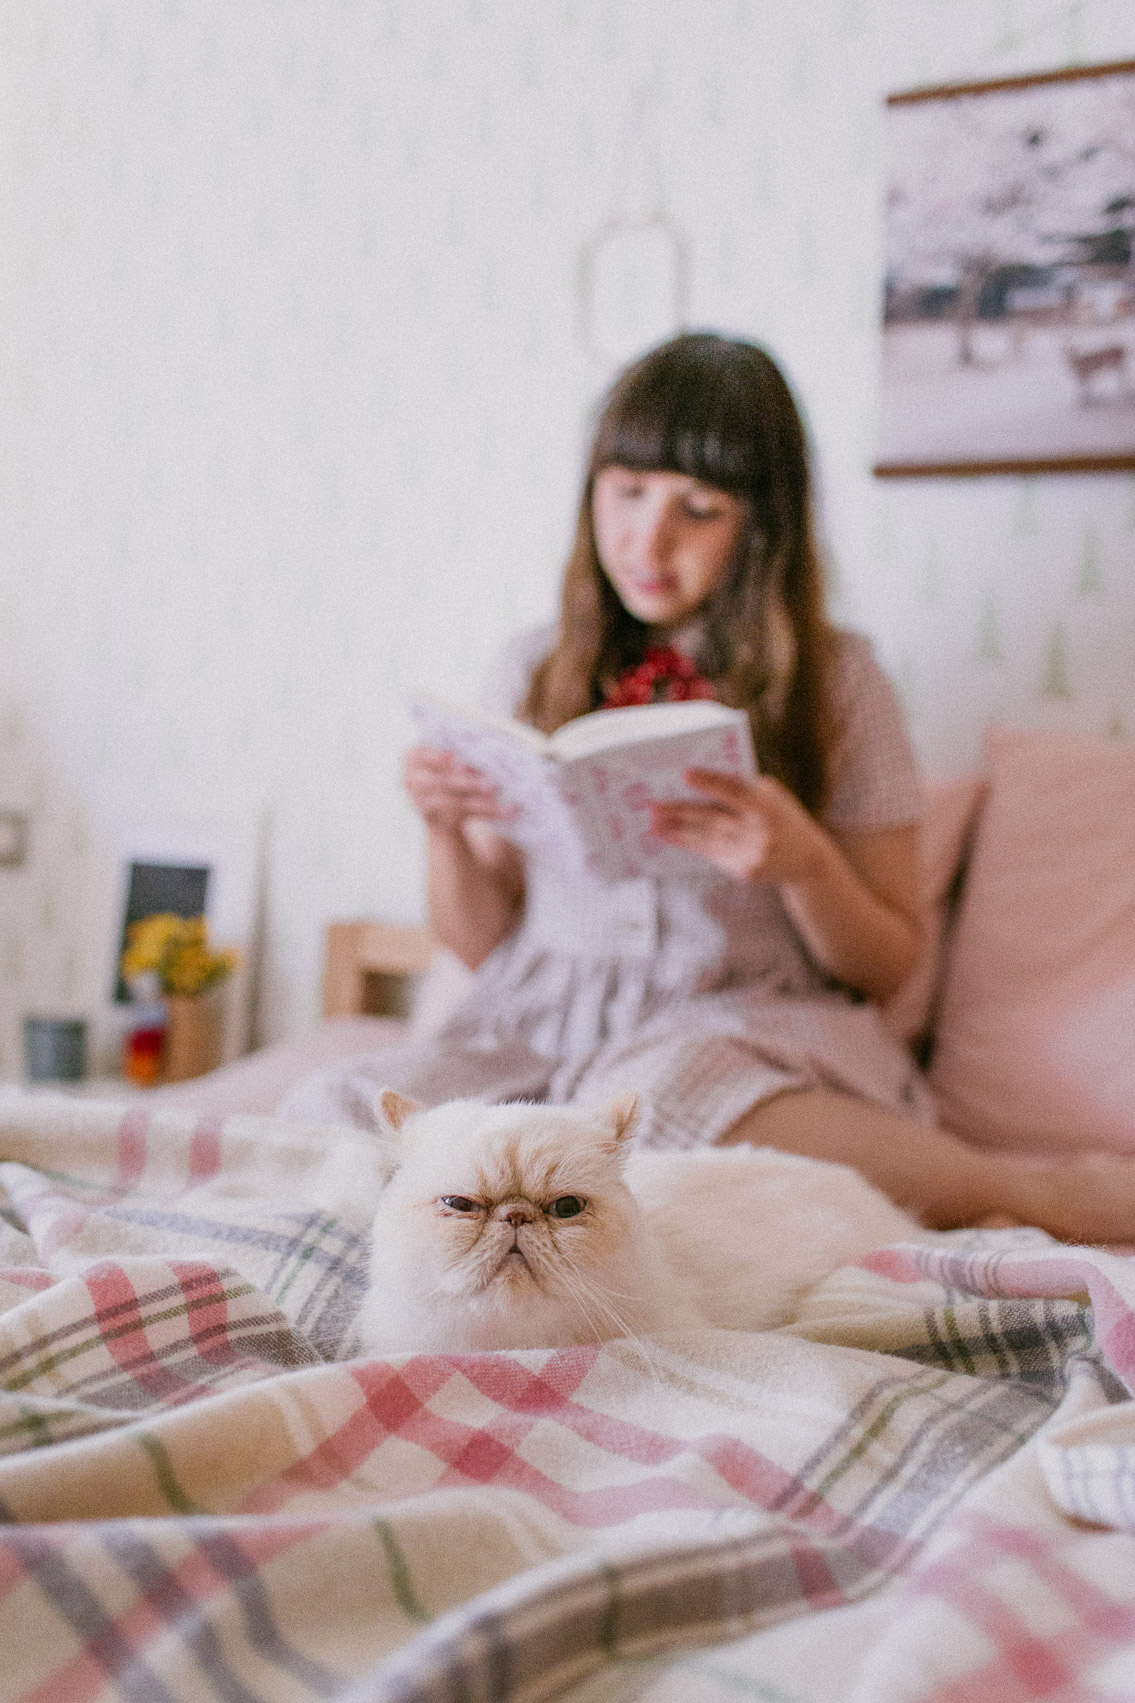
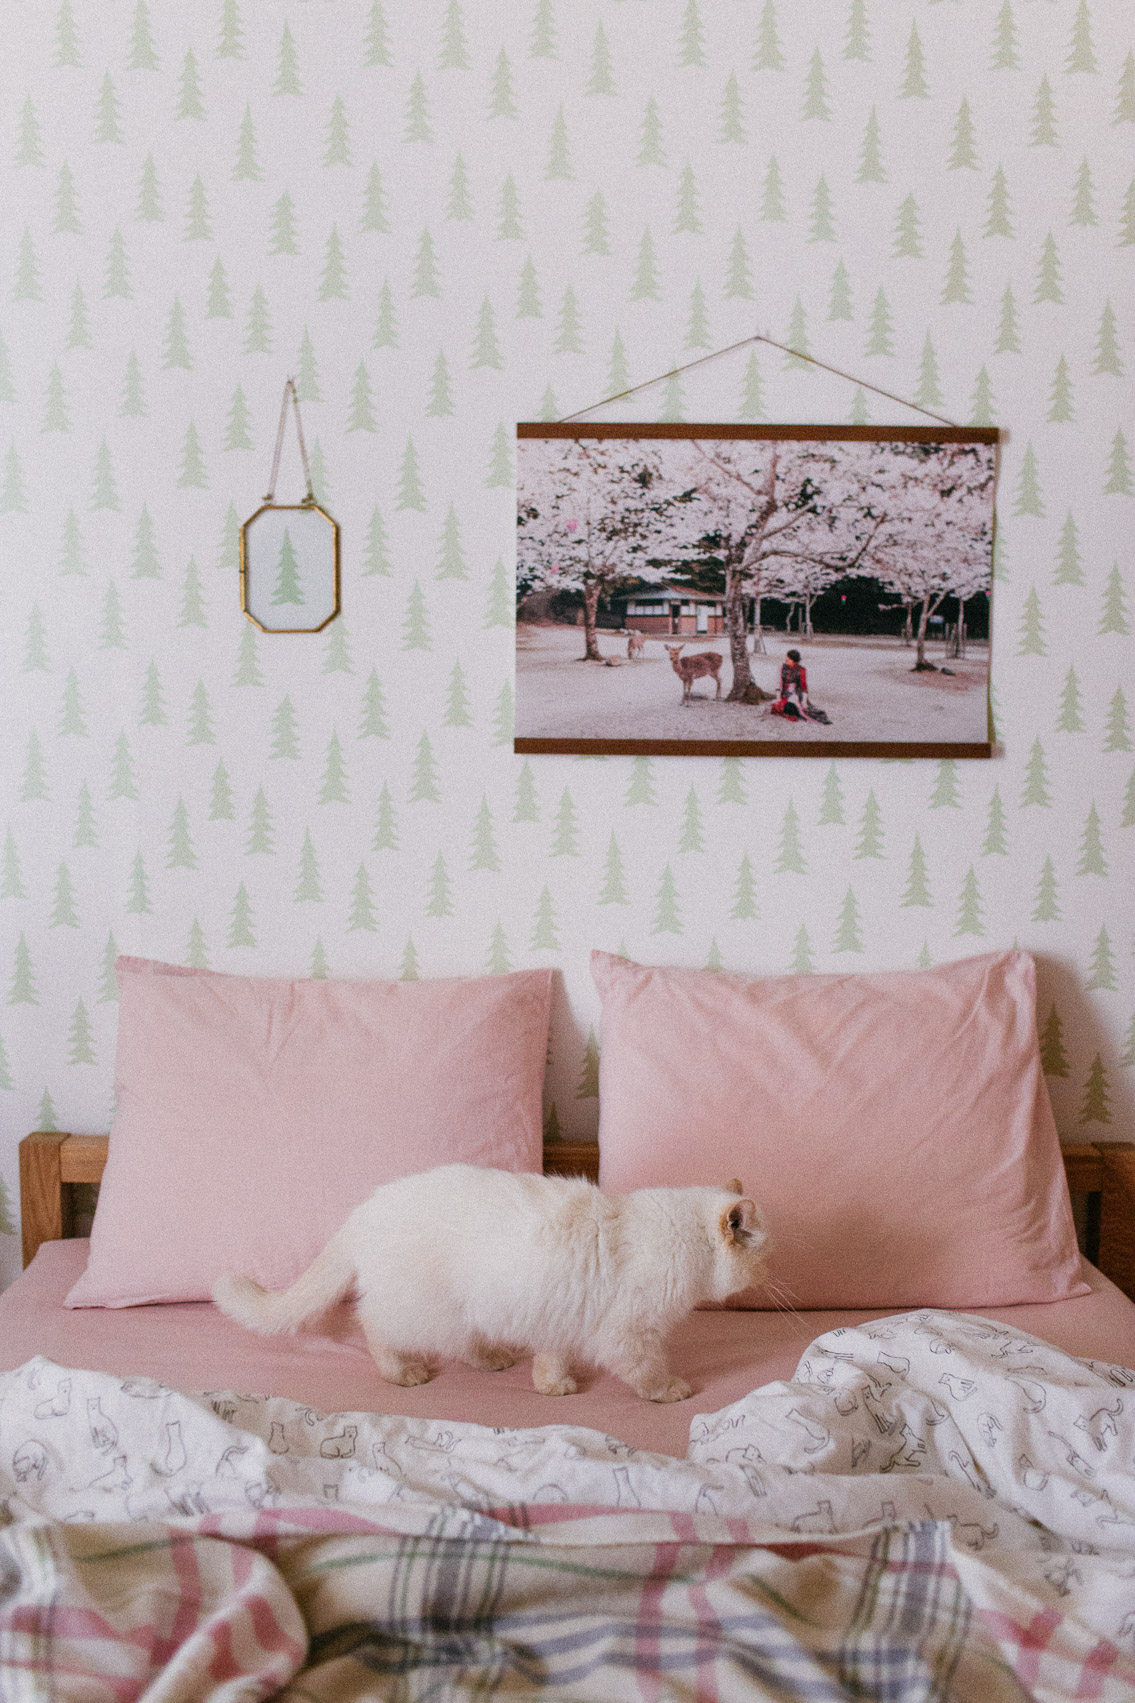
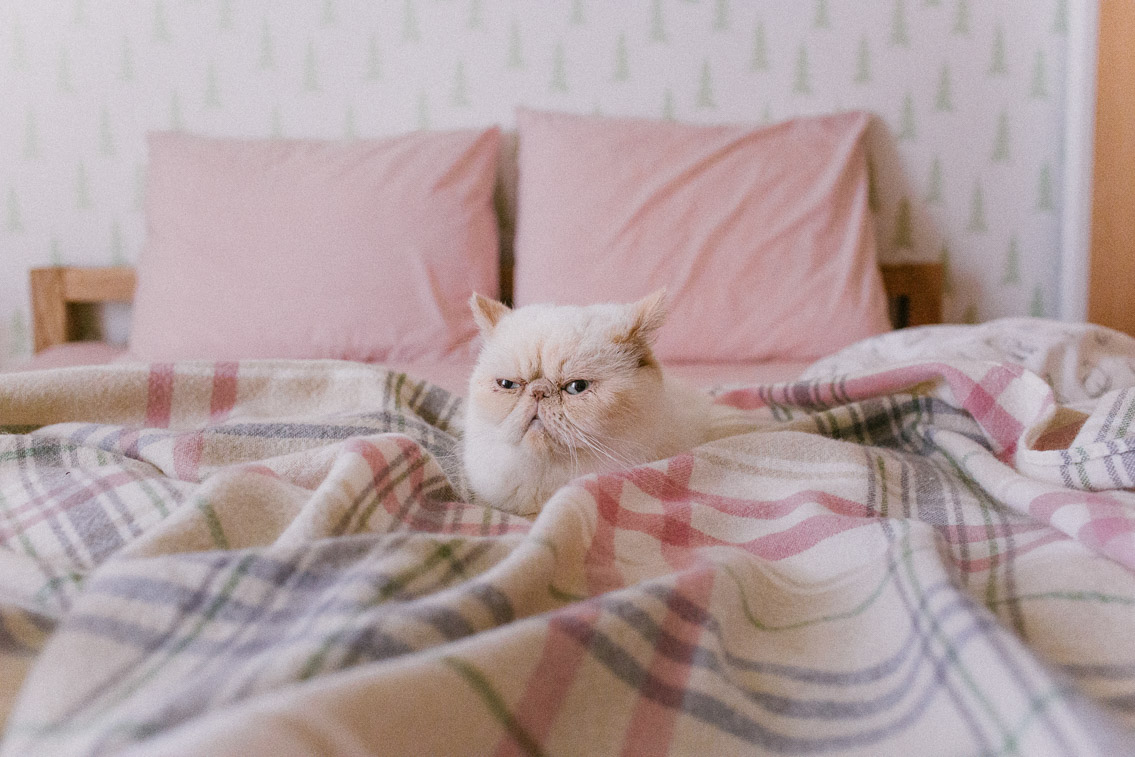
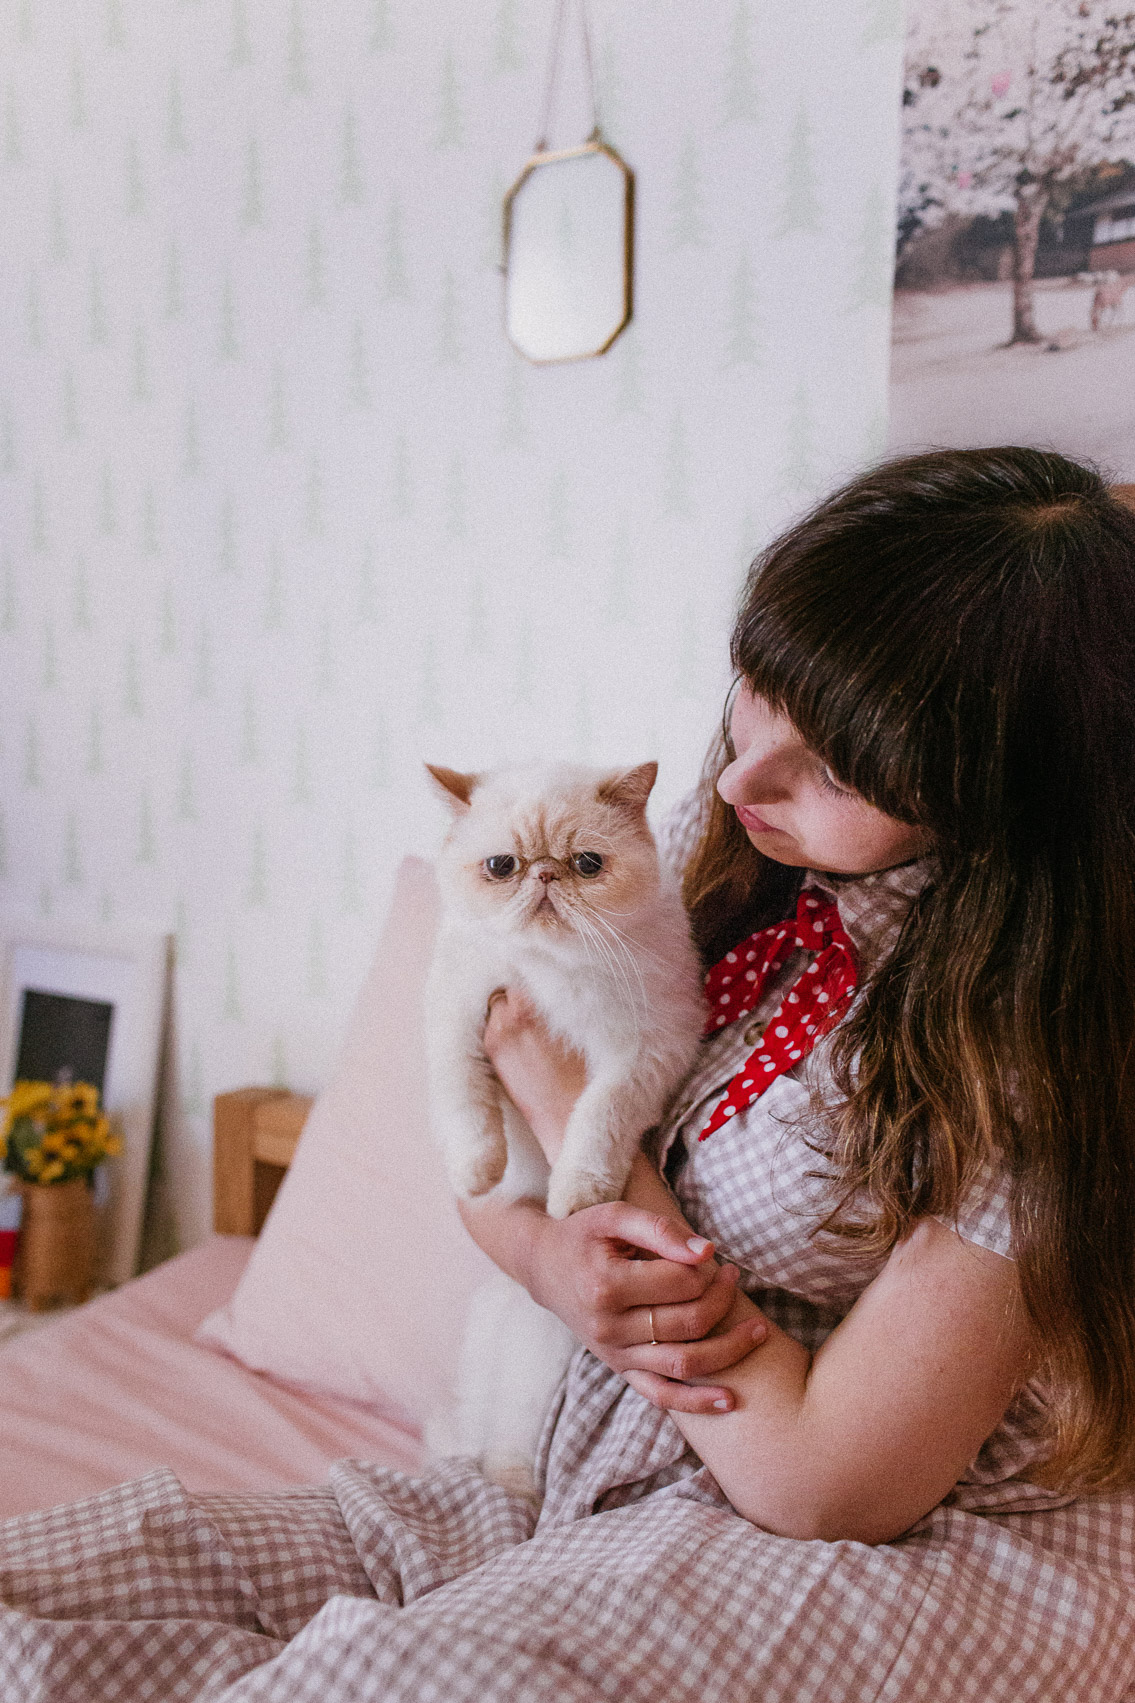
I think Juno likes the new wall, it was funny to see how she was looking at the wall acknowledging there was something new in it.
I am happy we received this just before the starting of the quarantine in Spain, because it was the best way to distract our minds, and something to look for. When the quarantine ends, I am inspired to keep improving the bedroom by buying new duvet covers, also new knobs for the chest of drawers, and spice up a little the decor on top of it, all except my beloved Cat girl & Bat boy drawings, that will live in my bedroom always. In addition I would definitely repeat this project in another wall of our home.
If you want to join and do a similar wallpaper project in your home, Photowall has kindly issued this 25% discount for all of you:
thecatyouandus20
Let us know what are your thoughts on wallpaper for your home!
This is a humble blog, this is one of those rare occasions where we have a collaboration, Photowall gave us the wallpaper and the poster, but the post idea, the photos, all the words and opinions here, everything, comes from us directly. Thanks for your support!

WHAT! you guys this is utterly adorable, super big job to tackle on your own but it looks 100% professional and 100% cute!!! Eep :) :) I also love how you have that glass open frame on the tree and the sakura photo was an awesome choice! *applauds*
Oh big thank you boo!!!! I guess it’s kind of easy to do, but we are super proud with the result anyways! The sakura poster is making me smile so much, which is a good things for these hard weeks at home. Hope you are doing fine and are keeping safe! <3 <3
Estilo y elegancia a partes iguales!!
This is Dani, Juno & Damaris.
Our heads are full with photography,
our hearts stay in Japan.
Our guides
2 weeks in Japan. Highlights, food recommendations, shopping & the most perfect getaways!
Visit Porto in 48h! Probably one of the most beautiful cities in the world
Visit Lisbon in 48h! A complete guide with the most beautiful places to visit, eat and shop
Our tiny foodie guide for a full-belly long weekend!
Visit the most charming area in England using public transportation
Eat your way through New York City, & more! Check our favorite spots from one of our favorite places in the world
Spend 3 days admiring the colorful houses of these 5 lovely Italian coastal towns.
Top posts this month
YOUTUBE
Instagram
Pinterest
GET OUR POSTS IN YOUR MAIL
To find out more, including how to control cookies, see here: Cookie Policy